Upgraded Aston Martin Headlights. Upgraded I found the stock DB9 headlights to be pretty awful, they consist of a dipped beam HID projector and a full beam halogen projector, in addition at the front of the lights are a blue sidelight with the orange indicator bulb behind it.
The DB9 is a fairly fast car and I wanted to be able to see where I was going at night, particularly important if trying to use some of the performance. I also wanted to remove the orange look to the indicator and make the indicators/sidelights clearer. I already have DRL (Daylight Running Lights) fitted.
Even Autocar in its used car review of the DBS said that it has “Dreadful Headlights”.
Building Upgraded Aston Martin Headlights
DB9 Upgraded Headlight results
Original DB9 Headlights
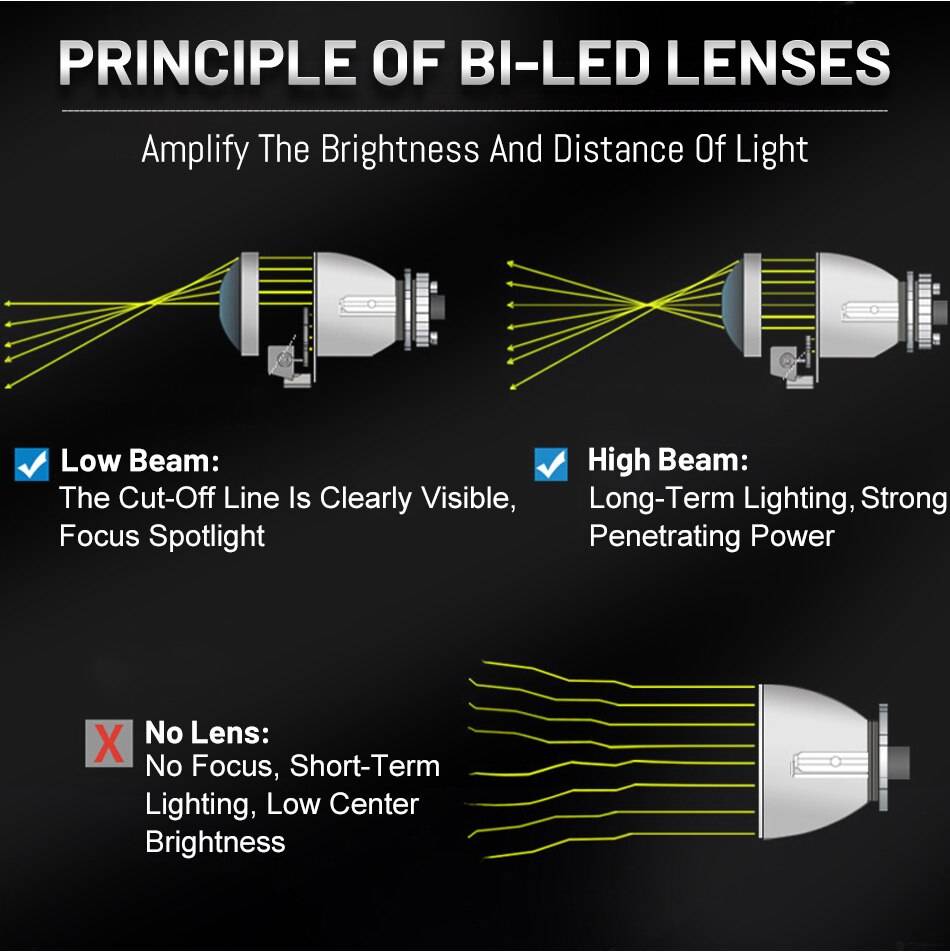
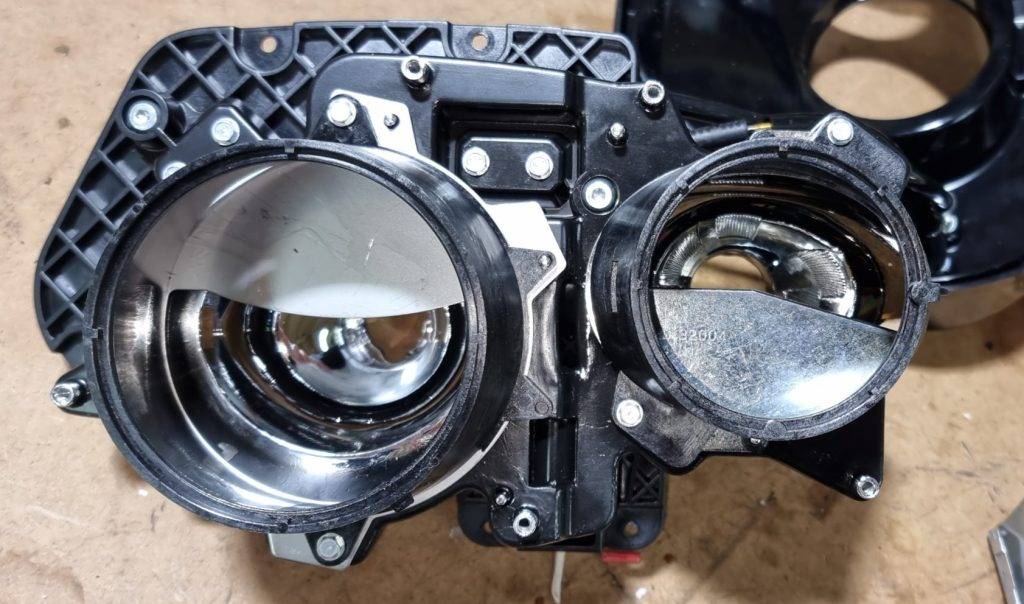
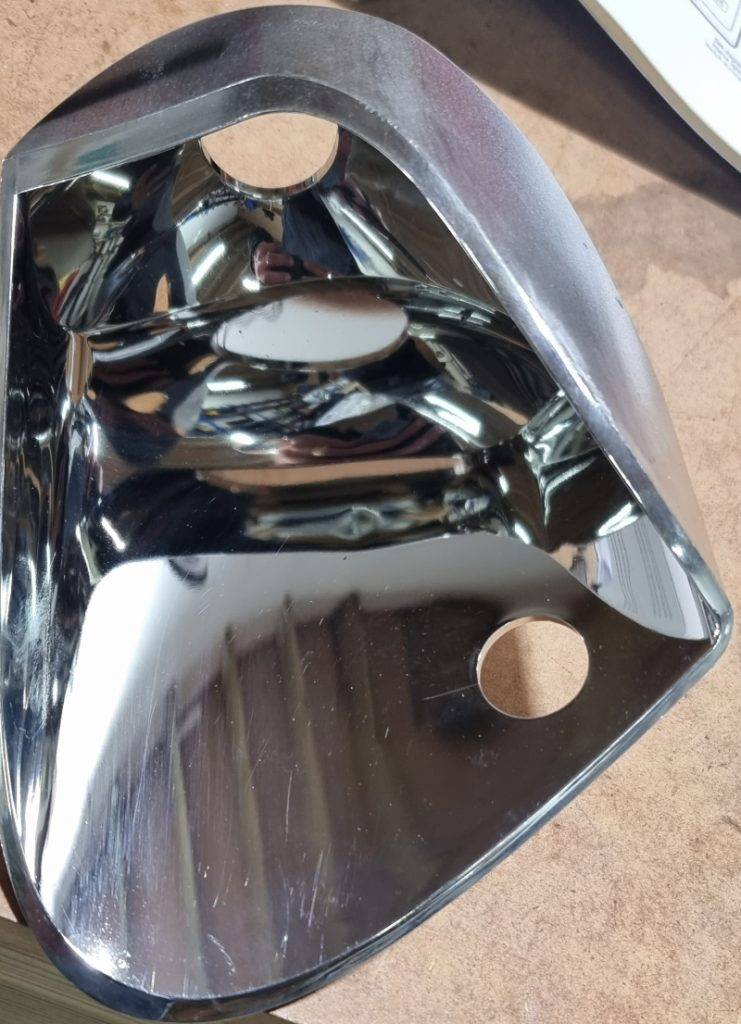
I feel that the original Aston Martin DB9/DBS headlights, although they look good cosmetically, are poorly designed. The HID projector for dip beam has a shield that cuts off part of the beam, on Bi-Xenon projectors this shield flips down to give full beam but is fixed on the Aston. To my mind this means that half the output of the bulb is wasted. The HID bulb is a D1S, see here for types of HID bulb. The Halogen full beam is the opposite with a fixed shield covering the top part of the beam, this means that the full beam only adds light above the dipped and doesn’t add light to the lower part of the beam, again wasting efficiency, see the images below. The main beam is a 65W H9.
Building Upgraded Aston Martin Headlights
I wanted to upgrade the light output of the DBS headlights to at least match and preferably exceed that of the newest performance cars on the road but without dazzling other road users and keeping the stock look of the original Aston Martin headlights.
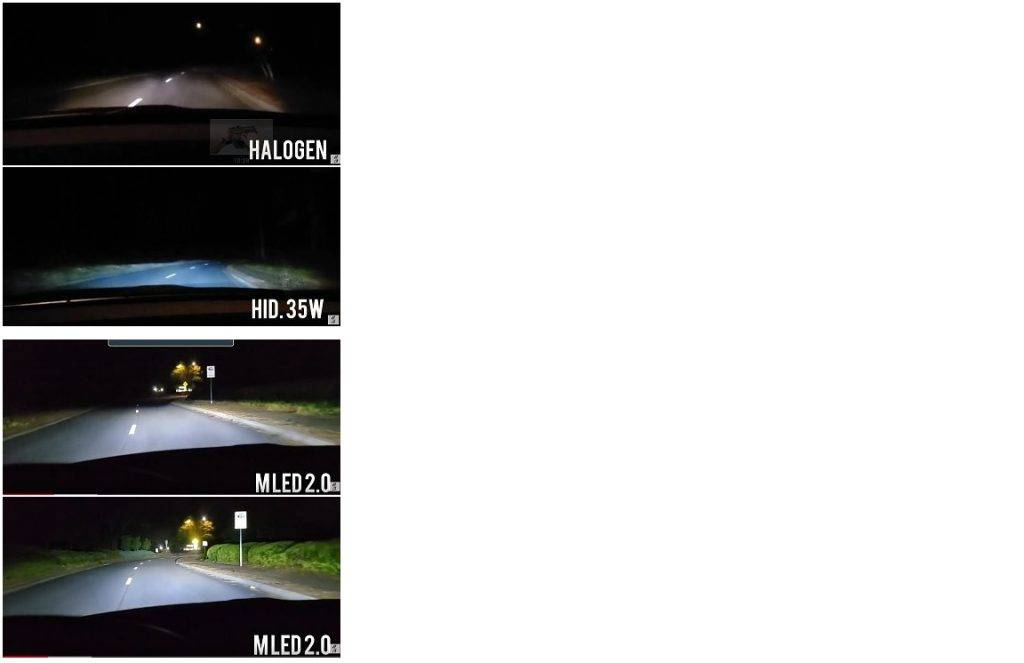
I decided to go for quad Bi-LED Projectors, that is 2 projectors per side, each projector capable of low beam and high beam and with LEDs for quick start up and length of life. Some beam patterns shown below show that probably the best Bi-LED available at the moment is the Morimoto M-LED 2.0.
This means that in addition to each light being far more efficient and brighter than before, I would have 4 dipped beams and 4 main beams as well. Another advantage of LEDs is the instant on at full brightness, no warm up needed like HIDs.
Both new projectors use 3″ (76mm) lenses as opposed to the original 3.2″ (82mm) High beam and 2.5″ (64mm) low beam but the original shrouds will still fit with a little modification.
I used the original headlights and took them apart. The rear section of the headlight and the plastic lens are held in place by a silicon-like sealant, if this is heated using a large oven (max 100C) or carefully with a heat gun this pulls apart easily. The insides can then be removed quite easily, the screws need a 5.5mm socket.
I wanted to use the original plate/bracket that was used for the original lights as then both the manual direction adjusters and the auto levelling system would work and the original shrouds would bolt straight on keeping it looking original. So I separated the parts until I was left with the original plate with the light bowls from the projectors in it.
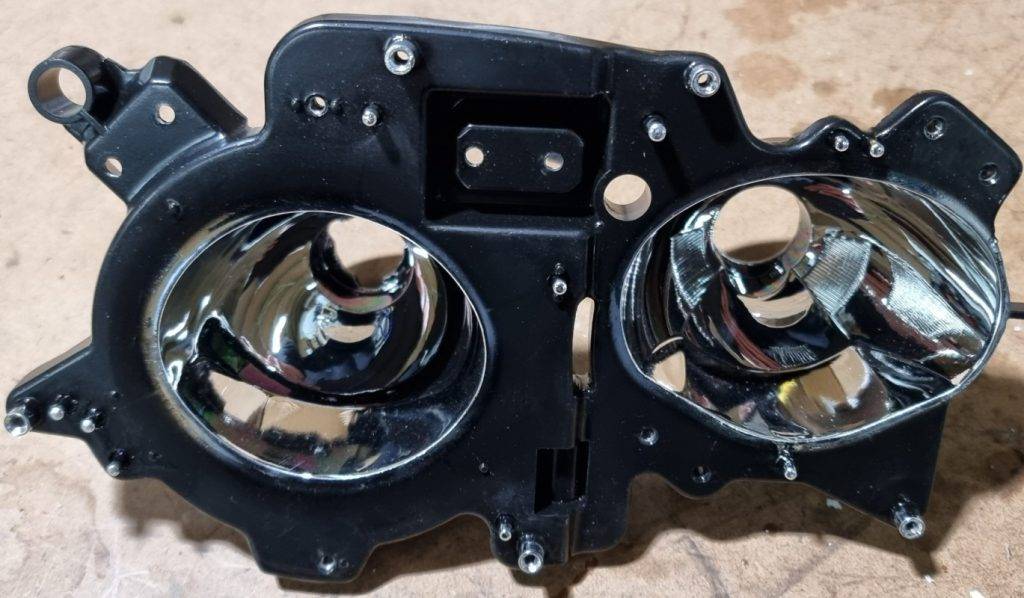
I then had to test fit the brackets and lenses from the Bi-LED projectors so that they would fit in exactly the same positions and in the centre of the shrouds, then cut and drill to fit the bracket for the first LED projector. The bracket is the centre part of the projector and the bowl and lens both bolt together through this bracket.
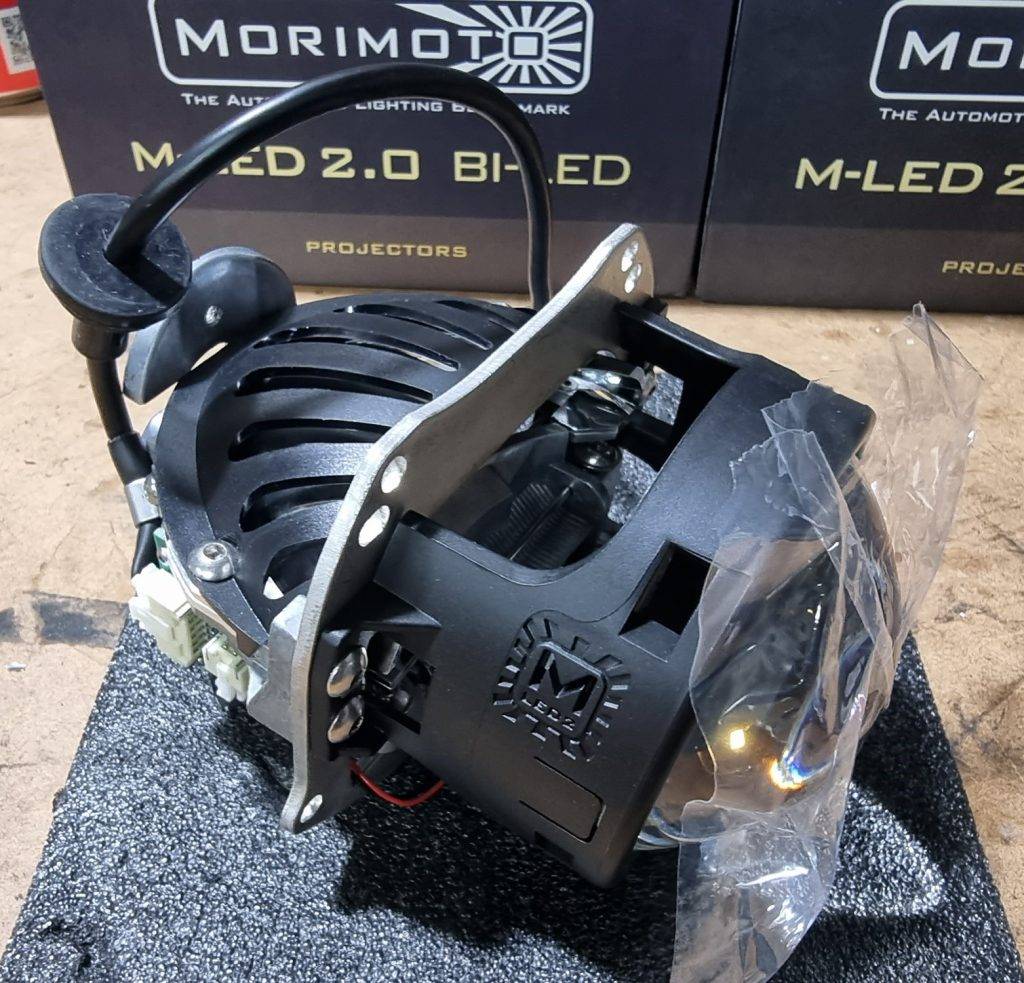
First bracket attached, after measuring, cutting and drilling the original bracket to ensure the new low beam projectors fits centrally in the shroud.
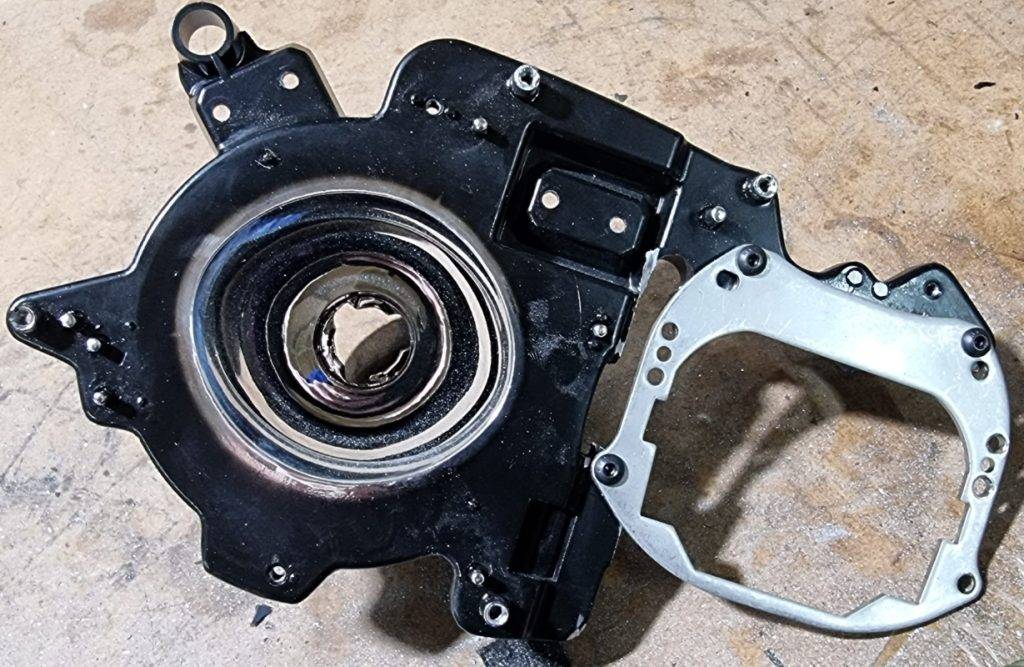
Projector test fitted to bracket
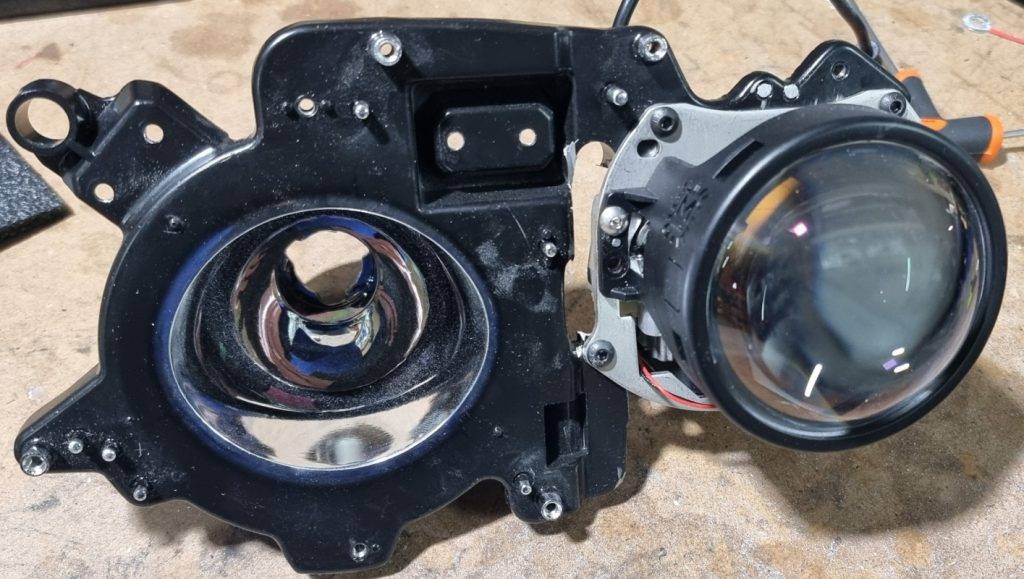
First Shroud test fitted
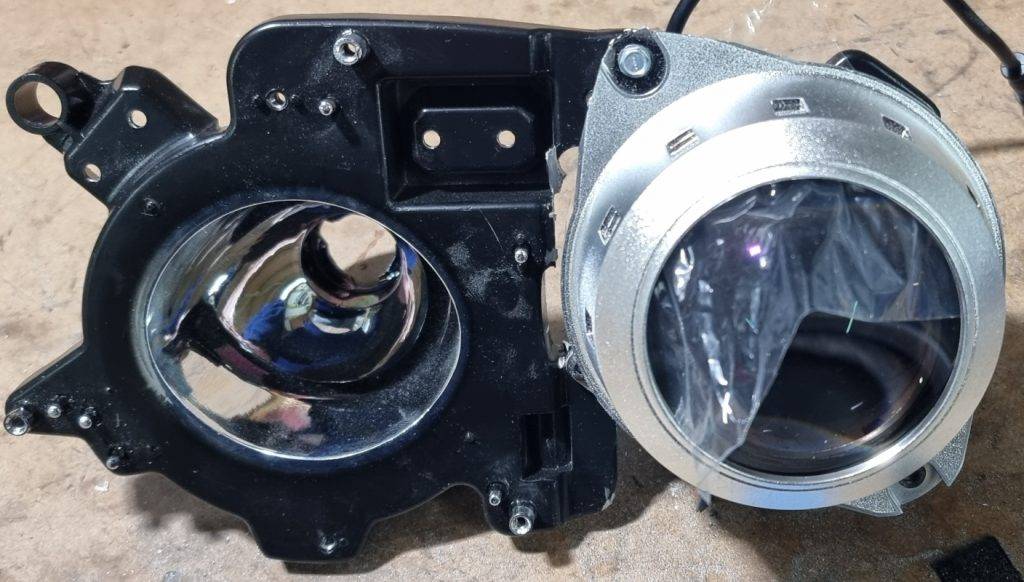
Shrouds need light modifying to fit new lenses.
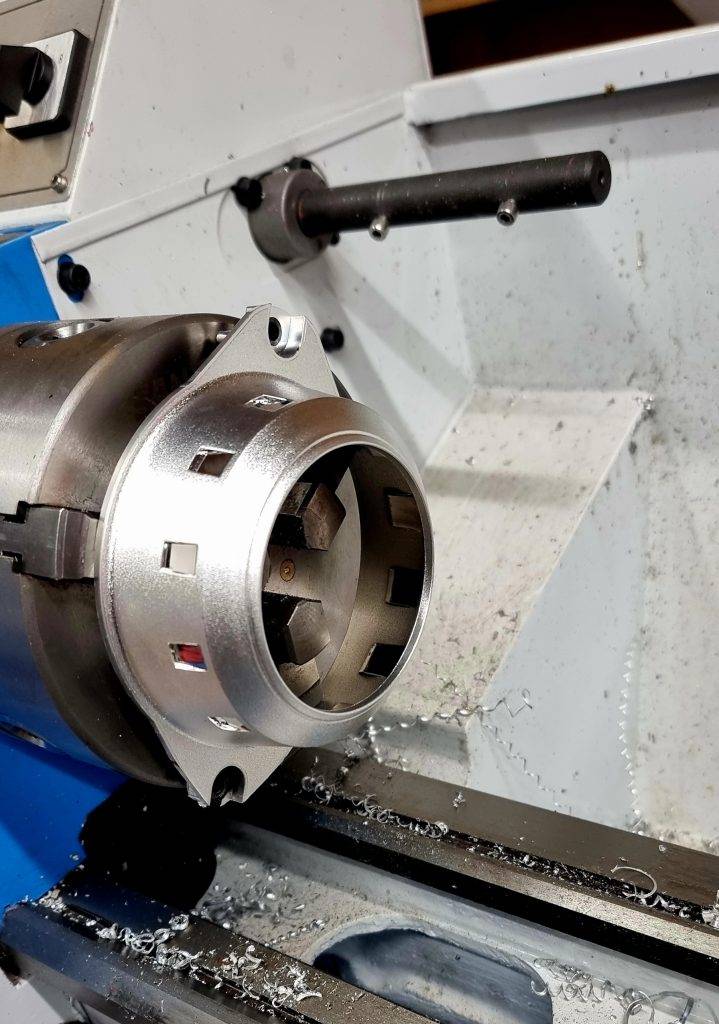
Both brackets fitted and painted, because of using the same original mounting bracket this ensure both lights are parallel and can be adjusted with the stock adjuster/auto levelling.
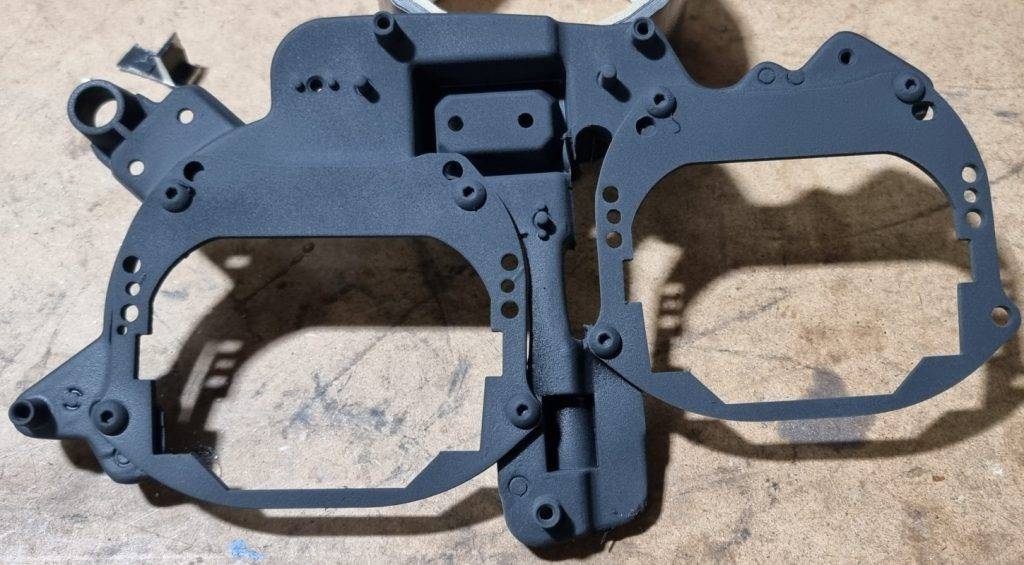
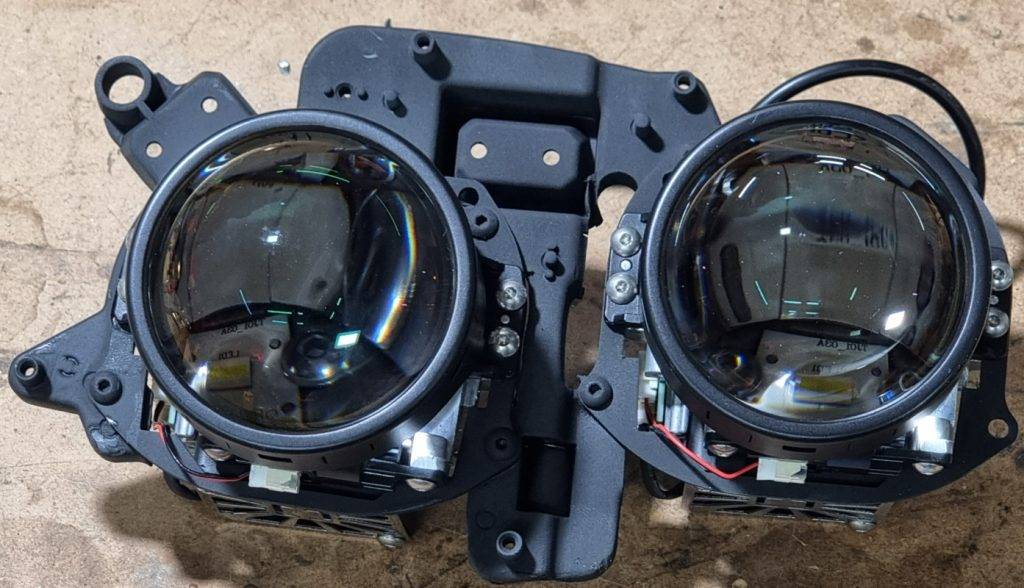
Both bowls fitted to the finished bracket, as can be seen the LED bowls are a very differnt shape, due the fact that the LED illuminates in a 180 degree arc instead of 360 degree
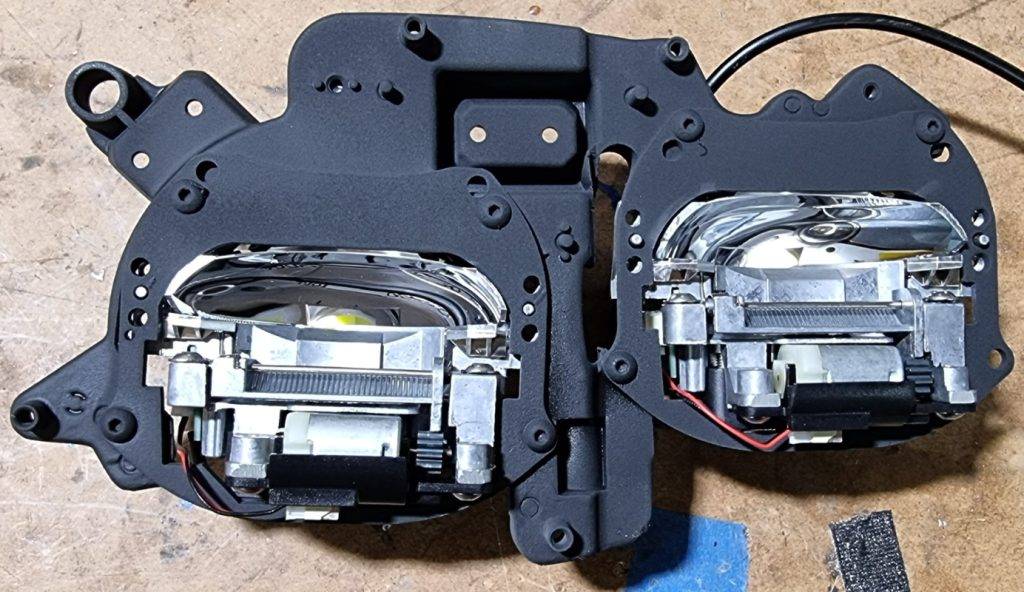
Both projectors fitted to the main bracket
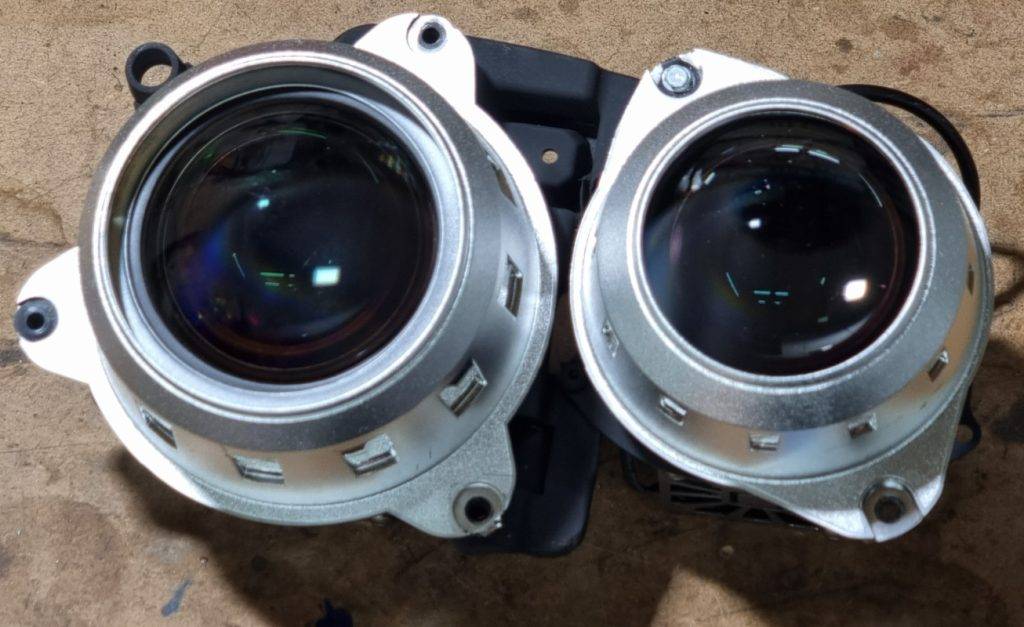
Both shrouds test fitted
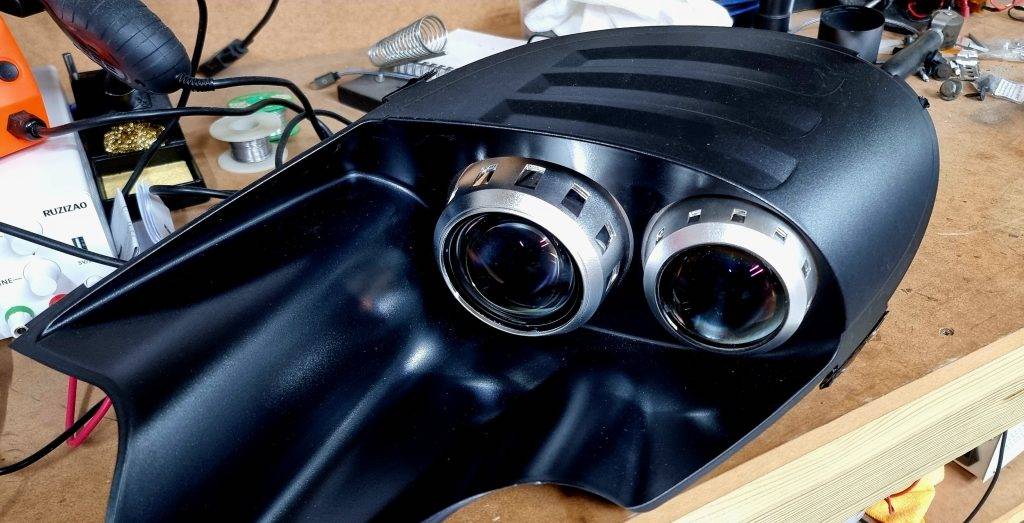
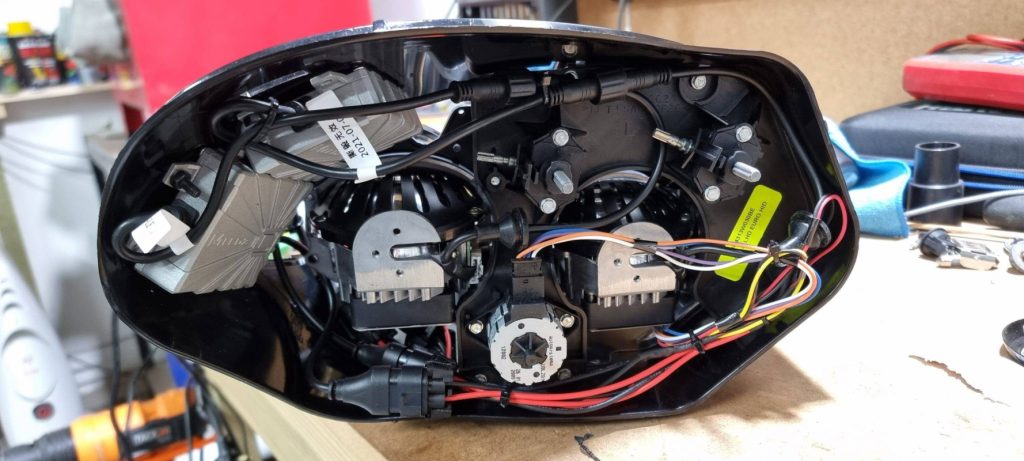
With the drivers mounted and wiring finished the internals are quite full, the existing holes in the Light unit have been sealed with plastic welding and sealant, the electrical connector is sealed in to as that was a loose fit and would let moisture in.
and tested with the inner parts of the original headlight
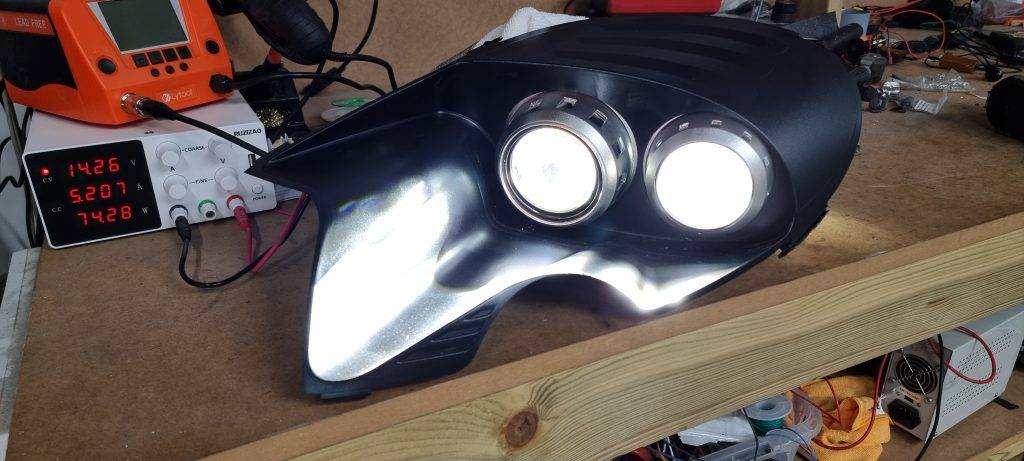
See results at the bottom of the page
Indicators and Sidelights
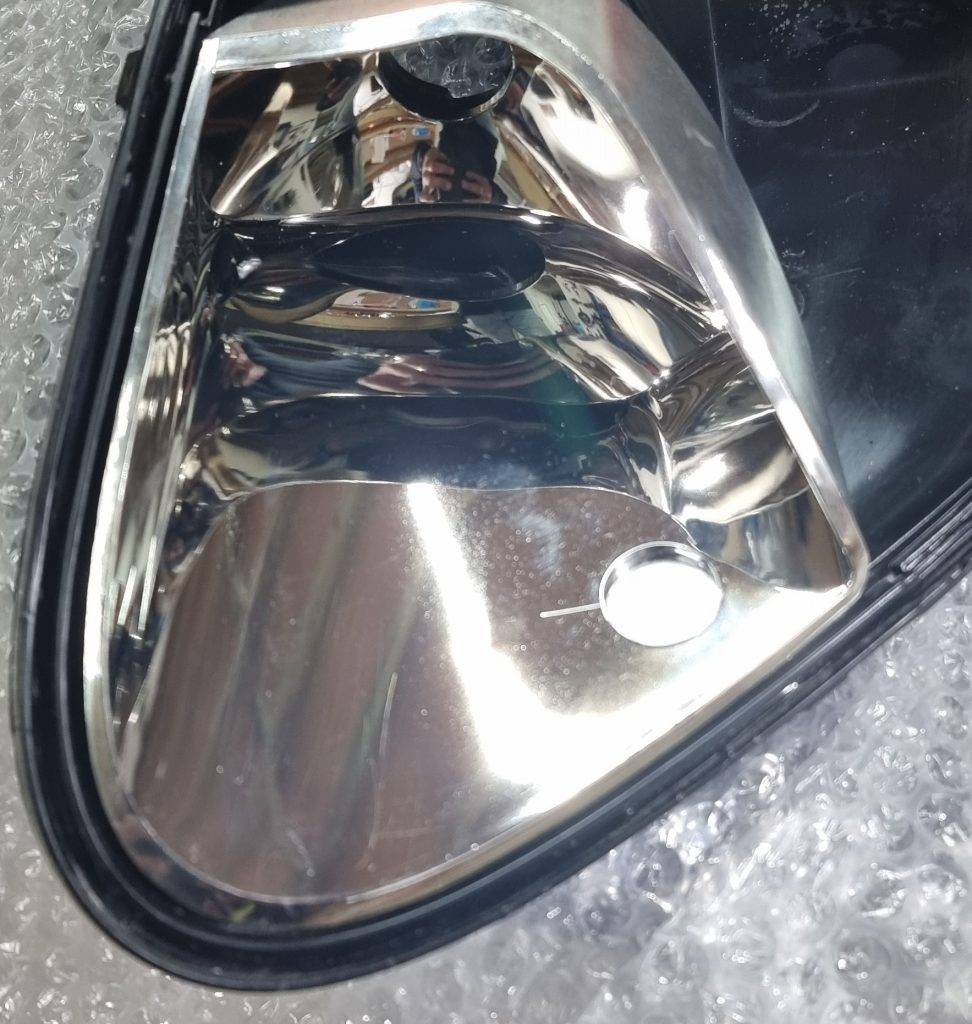
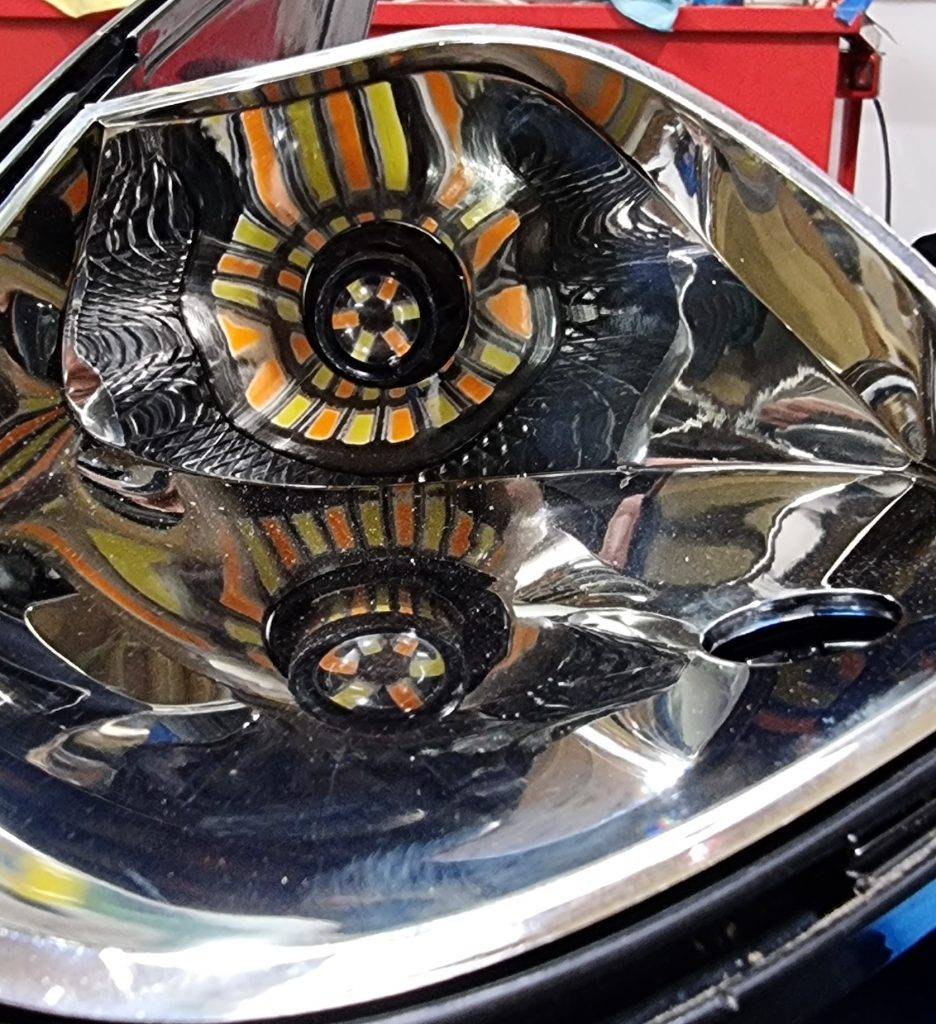
The front sidelight and indicator are at the front of the healight in a combined reflector, I prefer the more modern look without the orange glow of the indicator light bulb, I also prefer a whiter light than the sidelight provides. One downside of upgrading to LEDs is that the sidelight bulb can be seen through the lens and that when the sidelight is on it make the indicator less visible.
Stock view below with Orange indicator bulb and blue sidelight
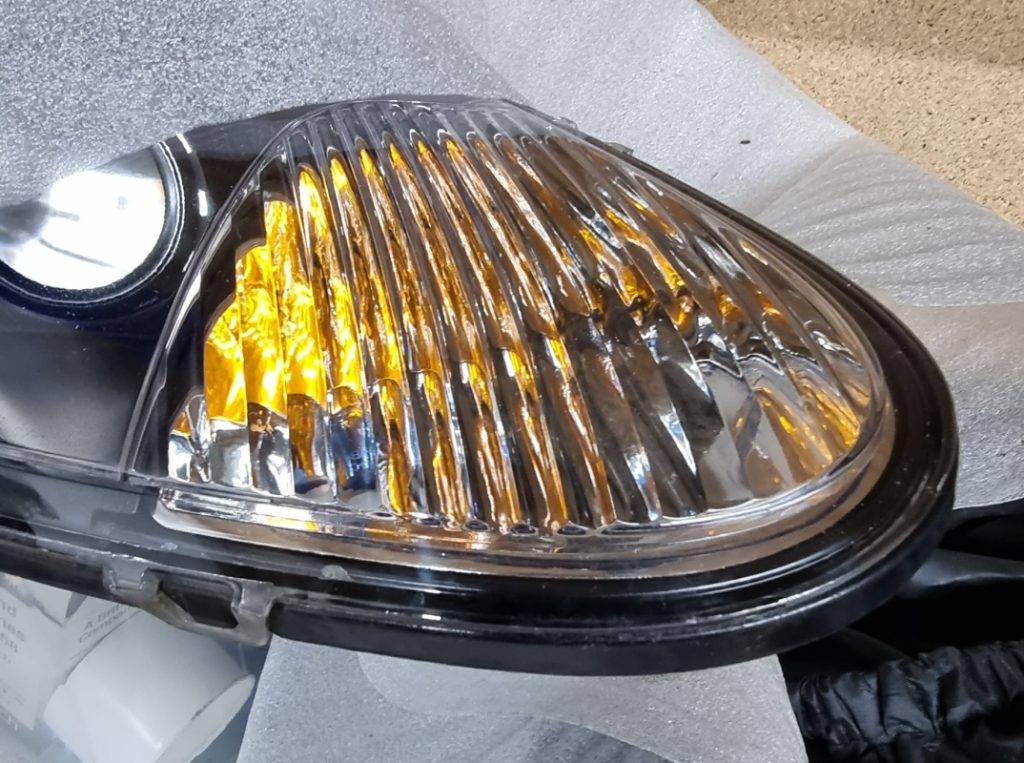
LED Indicator and sidelight
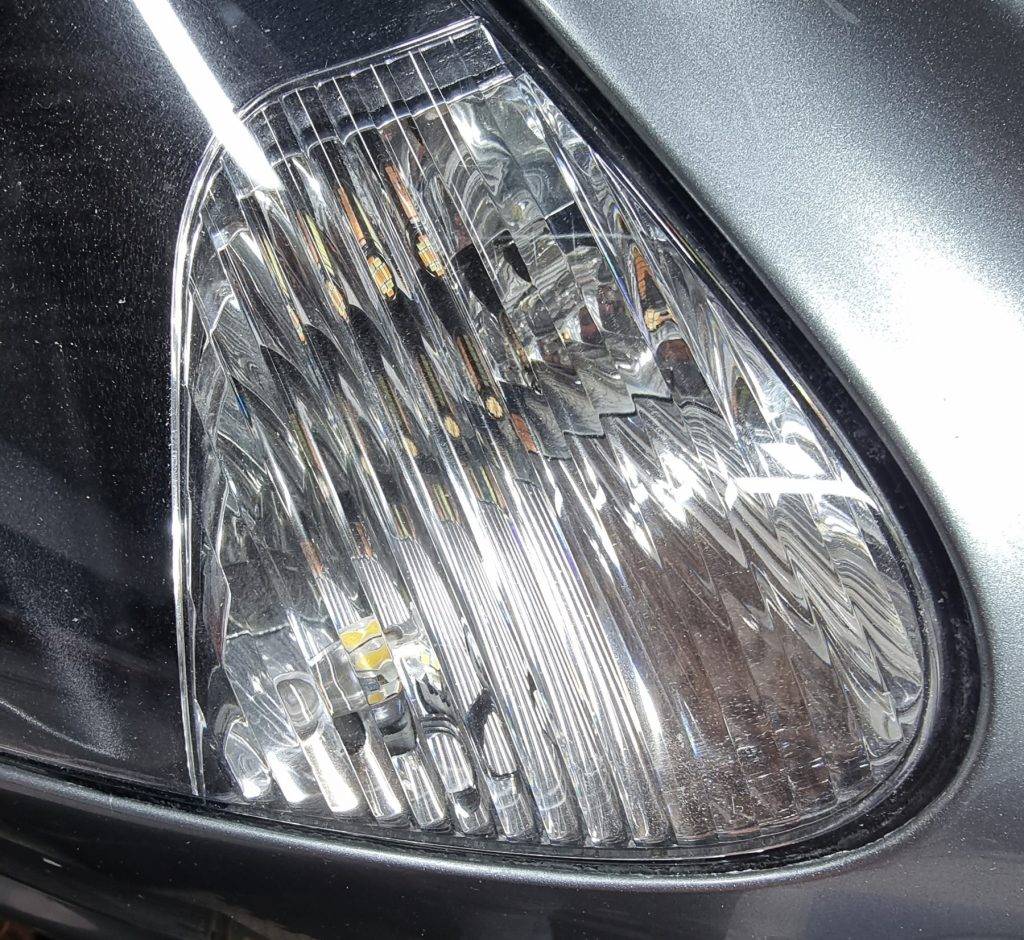
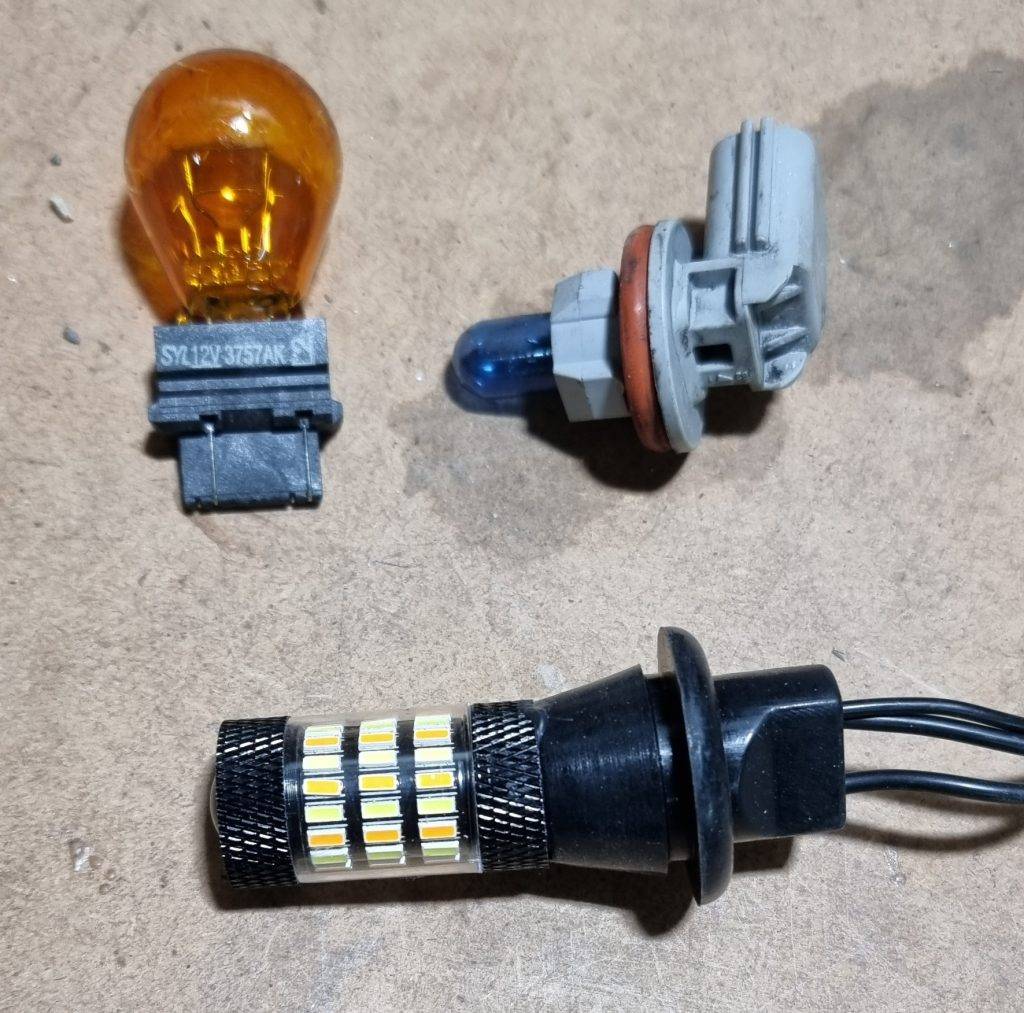
I intend to use a switchback LED inplace of the Indicator bulb, this will light up white when the sidelights are on and then switch off when the indicator is switched on. I will cover the hole in the reflector with chrome tape
Stock bulbs and switchback LED bulb
I filled the hole from the sidelight with chrome tape so it would be un-noticable looking at the headlight.
DB9 Upgraded Headlight results
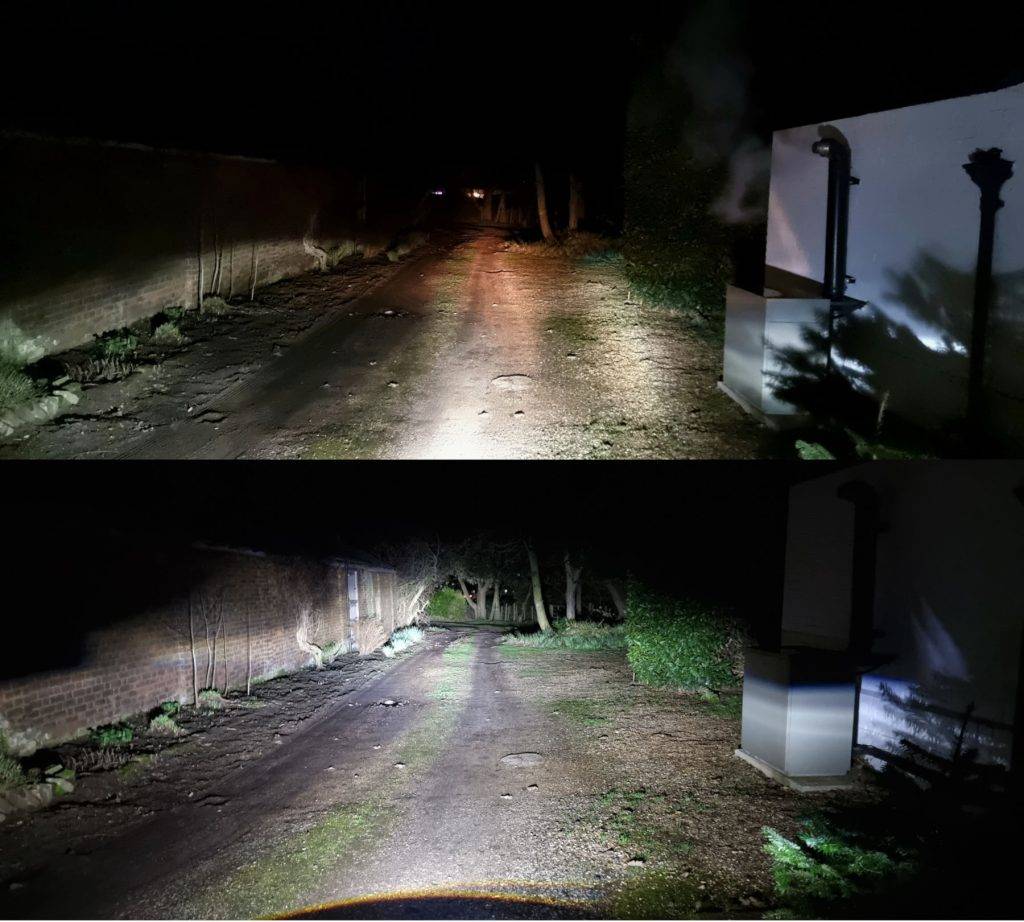
Initial testing results below – This is for one headlight only, with new Osram D1S and H7 bulbs in the original light. As can be seen the original headlights on dipped beam, have extremely poor reach, more extraneous light to the right (on the wall) dazzling oncoming drivers, and very patchy coverage leaving large unlit areas and hotspots. The Upgraded Aston Martin Headlights have a brighter, whiter light with far more reach, much more even coverage and a sharper cut-off meaning that the driver can see much better whilst dazzling other road users less.
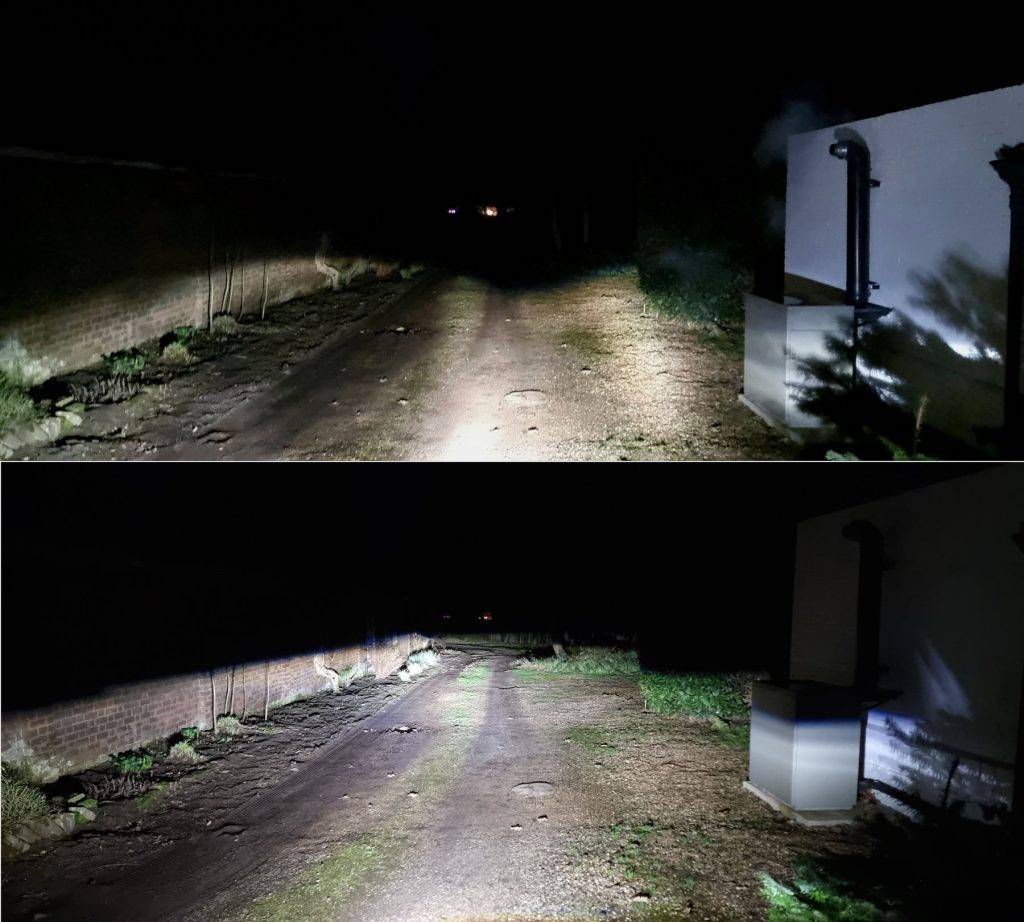
On full beam the stock inefficient main beam light adds a little bit of range but with a very narrow and not very bright beam, The new lights are much brighter with a wider more even beam allowing much safer driving at night.
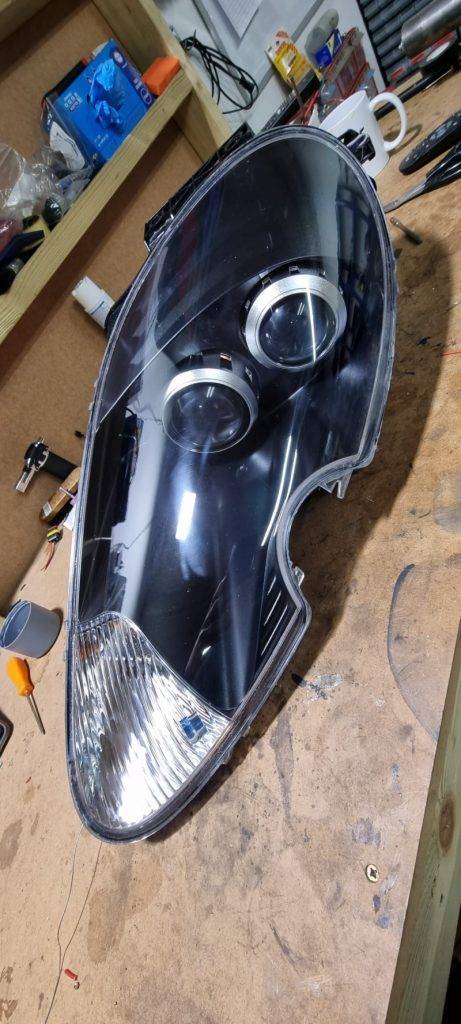
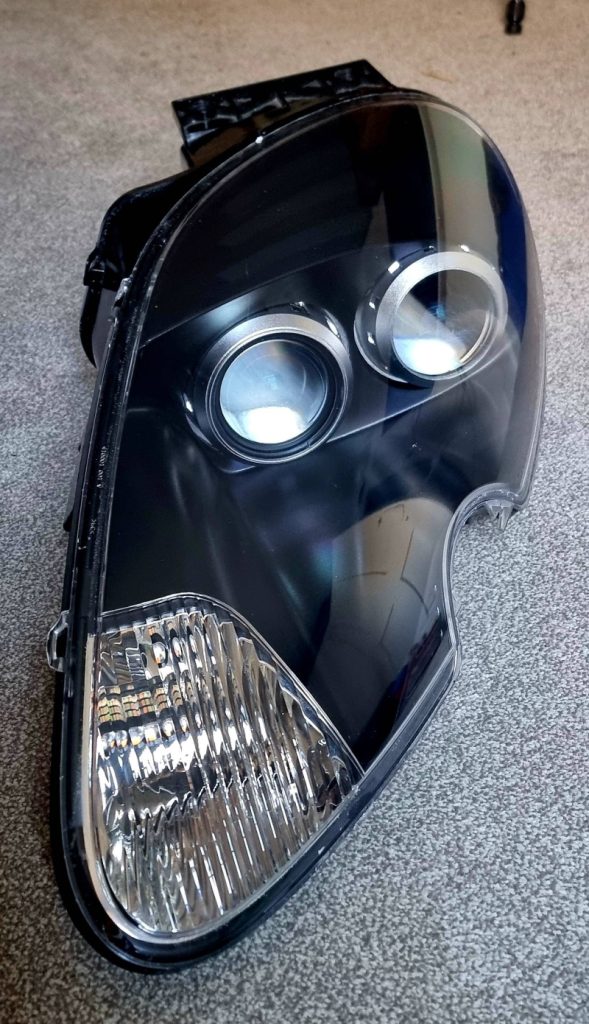
The finished headlight below, looks absolutely stock but has far more hidden inside.
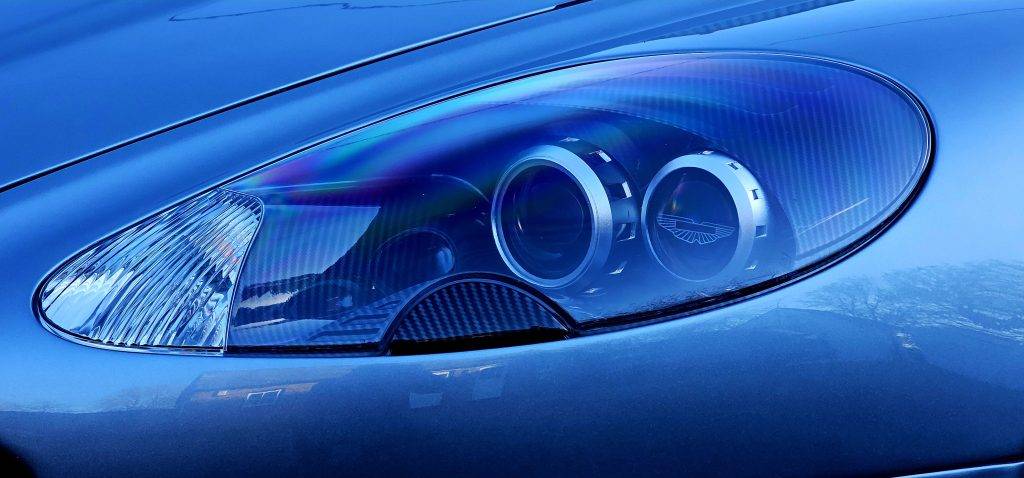
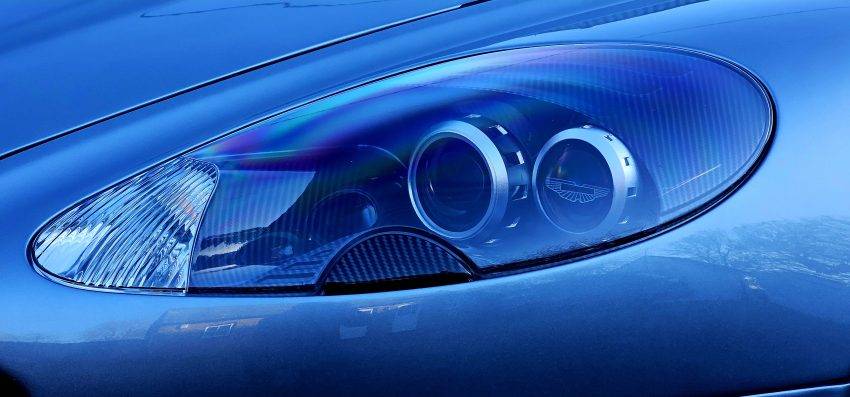
I later decided to go for a more custom look with carbon fibre shield and washer cover and the Aston Martin wings etched on the outer projector lenses.
Links
Daylight Running Lights
Morimoto Bi-LED M LED 2.0
Aston Martin Sequential Rear Lights
Aston Martin Headlight Bulb Comparison
Aston Martin Carbon Fibre Headlights
Is there a complete parts list for this up grade ?
The only parts I had to buy were the 4 Morimoto M-LED 2.0 projectors.
The Switchback indicators and Demons were just parts I had sitting around but are really just extra to the upgrade.
Great job. Did the LED projectors terminate in a socket that fitted the exisiting loom that originally went to the ballasts? I see that Moromoto sell optional splitters in H4 and H13, not sure that that is.
No, the LED projectors come with two twin connectors, it also come with the other side of the connectors with loose tails – I soldered the loose ends onto the wires coming from the Headlight main connector (so the headlight main connector wiring wasn’t changed externally to the headlight) – two sets were connected to the dip beam and the other two to the main beam
Thank you