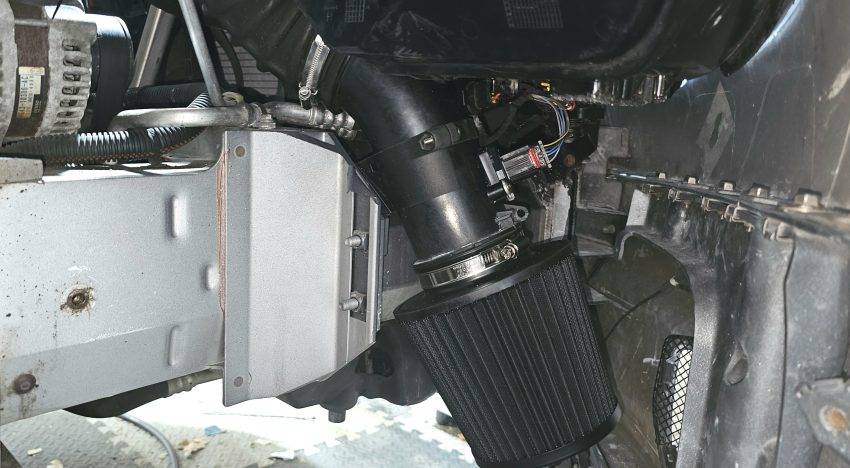
DB9 Air Box Delete, The DB9 airbox is restrictive at high rpm and large throttle openings if the engine is modified at all (e.g. remap, removing secondary cats, etc.) and particularly if using the DBS inlet manifold which flows much better at high rpm, as the only inlet to the airbox is though the restrictive cold air feed from the front grille area.
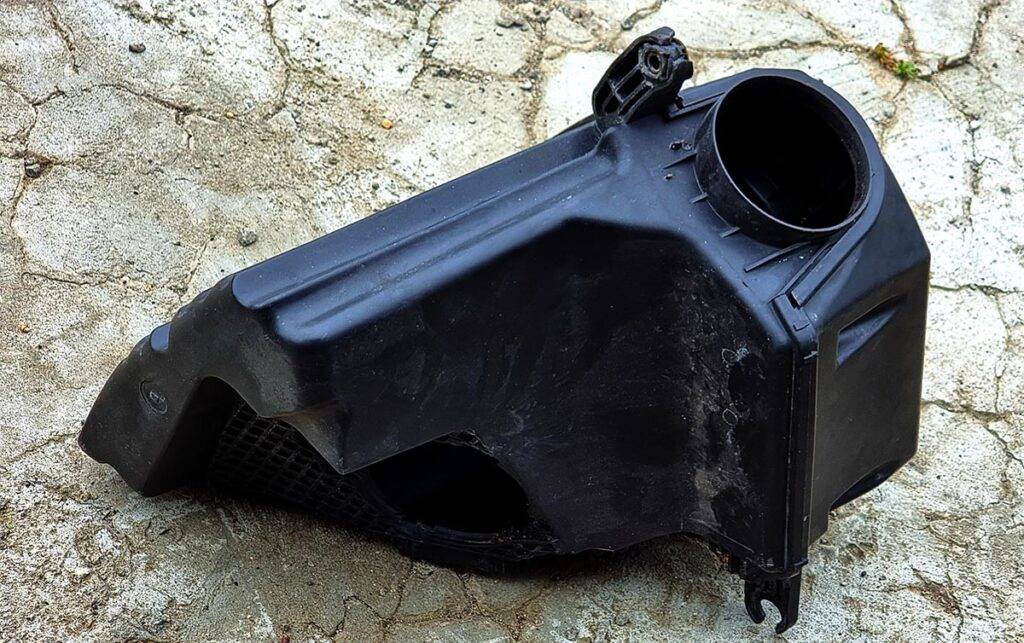
On the DBS, Vantage V12 and the S versions of the Vantage V8, there was an extra flap or valve on the side of the airbox, controlled by vacuum and a solenoid to allow extra air in at high rpm. This was done to allow extra air to flow when needed but keep the drive by noise to a reasonable volume.
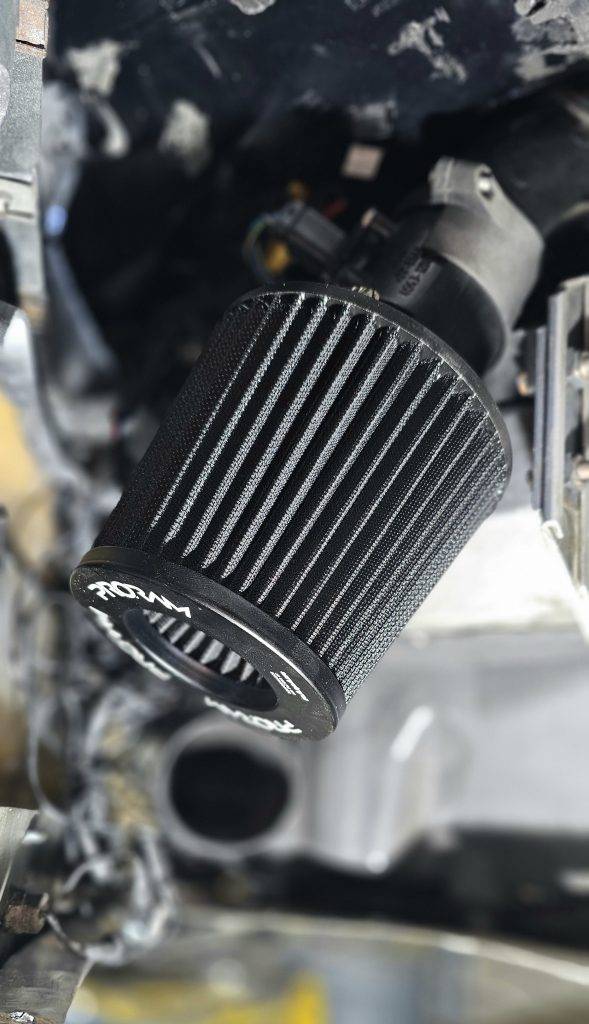
I decided to bypass the airbox completely, the Air filters are under the wing in an area sealed off from the engine, and has a cold air feed so it won’t be sucking hot air from around the engine but the better cooler more dense air from the grille area. As well as extra performance at the top end this modification adds a nice induction sound to the engine.
I originally used the Redpants airbox delete adaptor, this is a 3D printed part designed for the Vantage V8 but will work on a DB9. The existing mounting does not line up on a DB9 so i drilled 2 new holes in the adaptor to fit to the DB9 mounting bracket.
However I have now changed to the airbox delete kit from AstonDIY, this kit has number of advantages over the redpants kit.
- Specifically designed for the DB9 (Vantage version available too) so an easy fit with no distortion.
- More weight saving as more unneeded parts can be removed.
- Higher flowing reusable air filter included
- Tested by the Aston Martin DIY community.
Installation

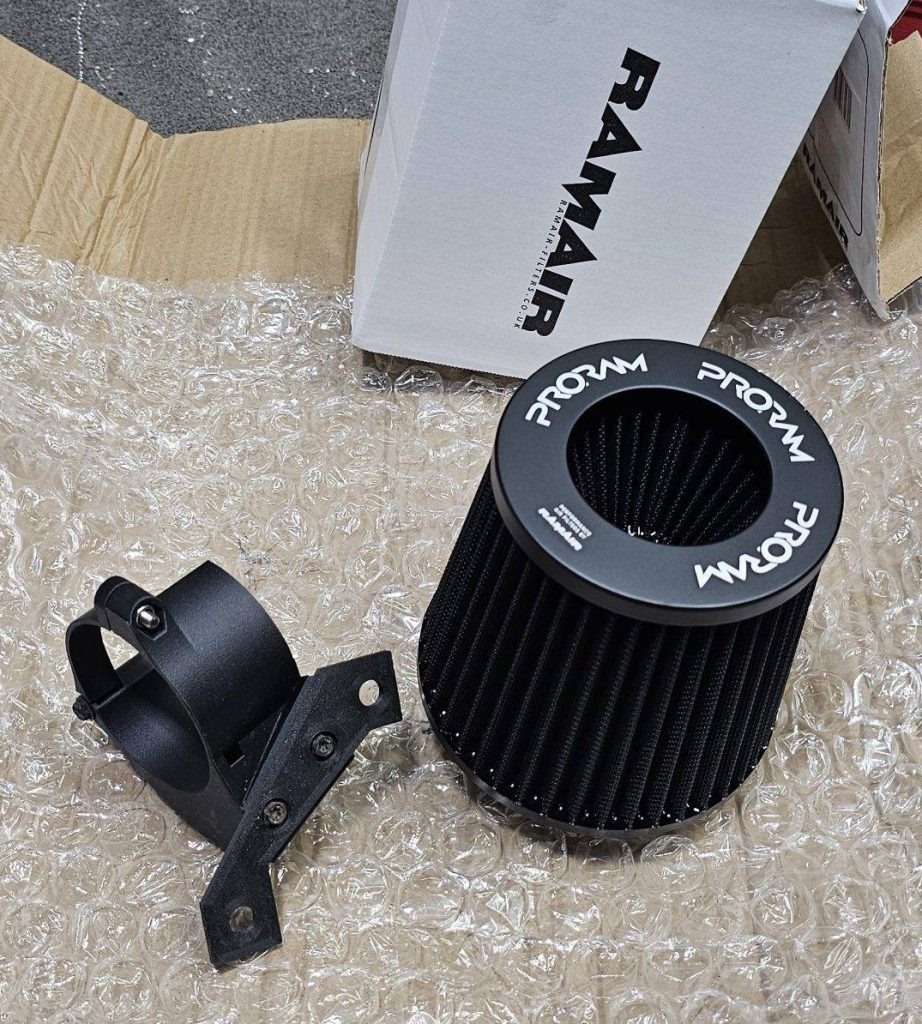
The airbox delete kit from AstonDIY.com consists of 3 parts for each bracket and the Reusable high flow airfilter.
The parts have left or right on them and they screw together easily using the screws from the original airbox, the two sides with left or right go together so that the markings are adjacent to each other, Two original screws hold it together and a third screw is used to hold the arm in place and allow it to open, the arm is clamped shut after installation using an M6 bolt and nylock.
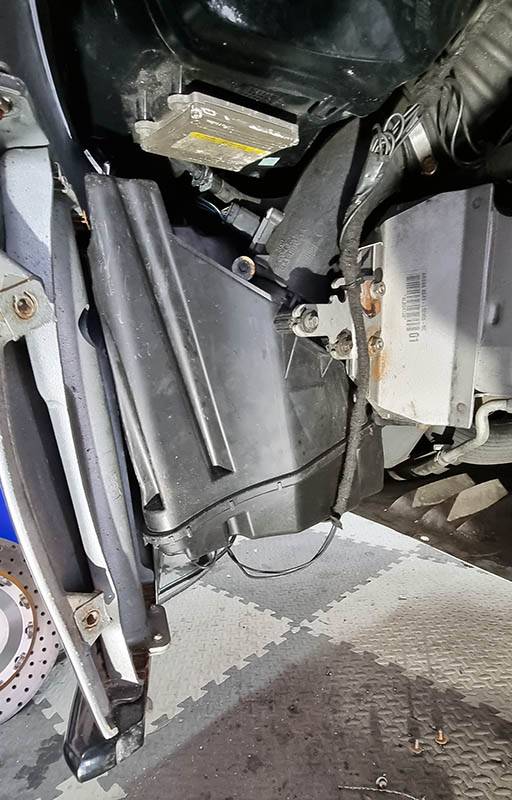
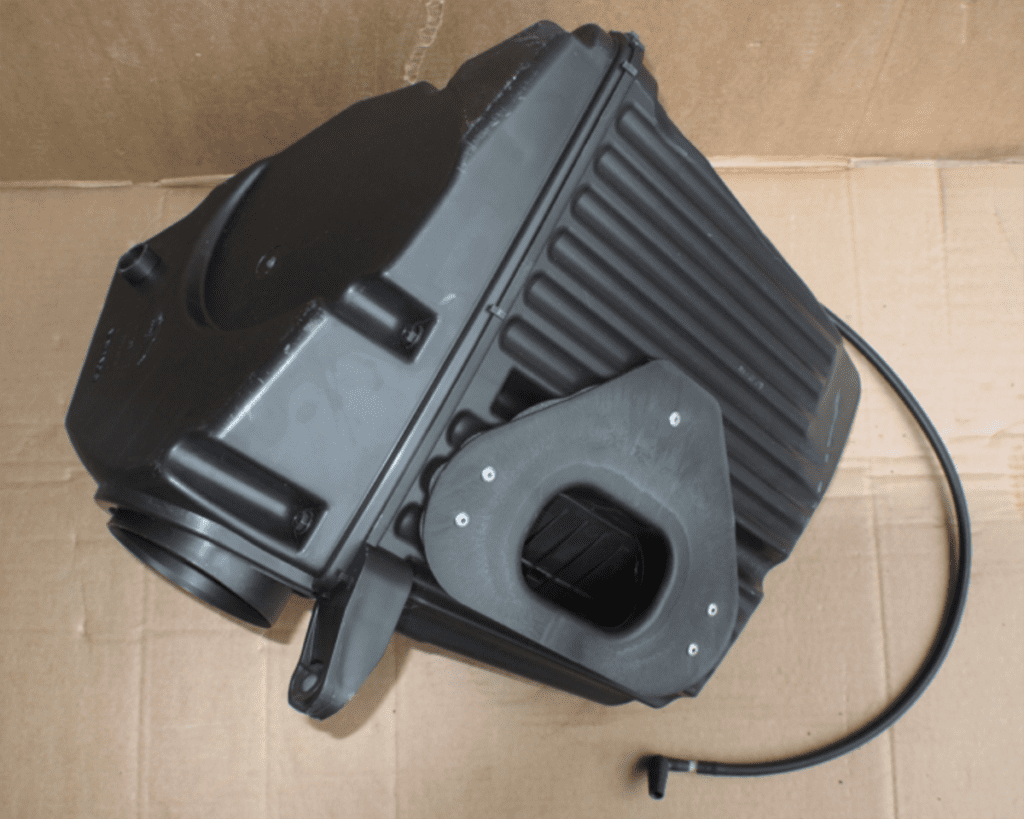
As can be seen the original airbox fills most of the space under the front of the wing, remove by unclipping the MAF connector, loosening the jubilee clip on the inlet tube and unbolting the three brackets, and pulling out the cold air feed.

The inlet pipe is removed from the airbox by undoing and removing one screw and then twisting the inlet pipe to release it.
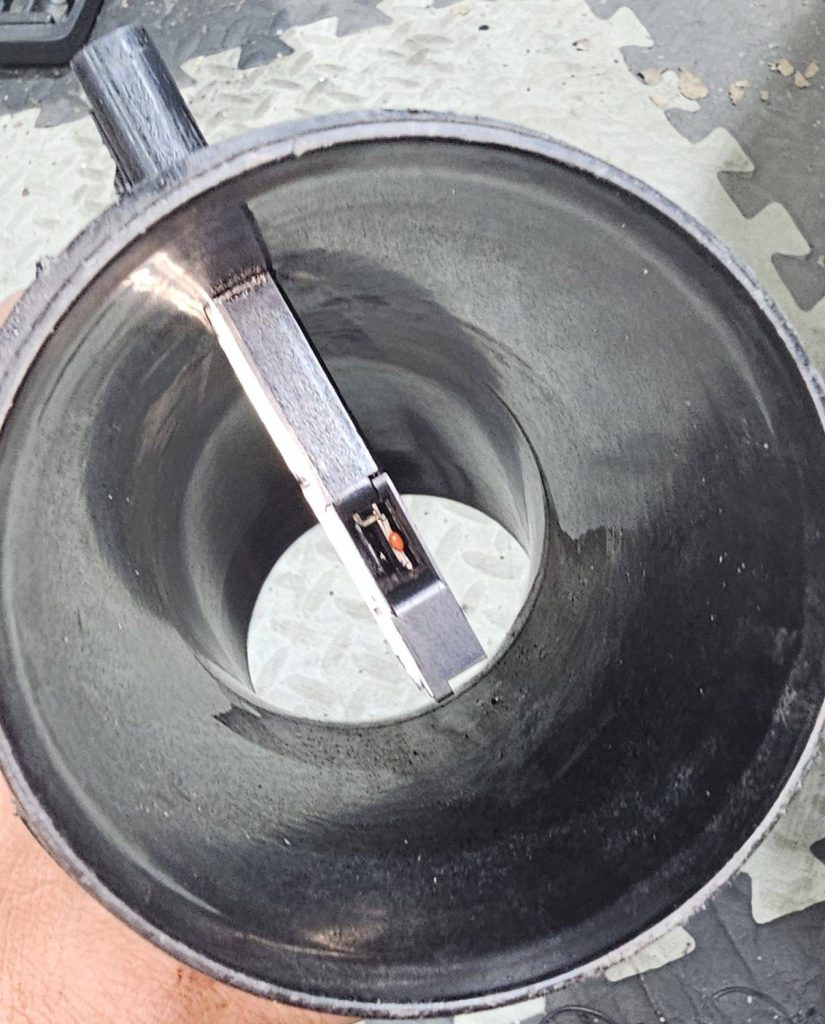
I took the opportunity to clean the MAF whilst I was doing this, just spraying a can of MAF cleaner.
Links
DBS Inlet Manifold
Chassis strengthening
DB9 Volante anti roll bar upgrade
DB9 to DBS Anti roll bar upgrade
Switchable exhaust
Brake Upgrade
Vanquish S quad outlet exhaust on DB9 or DBS
