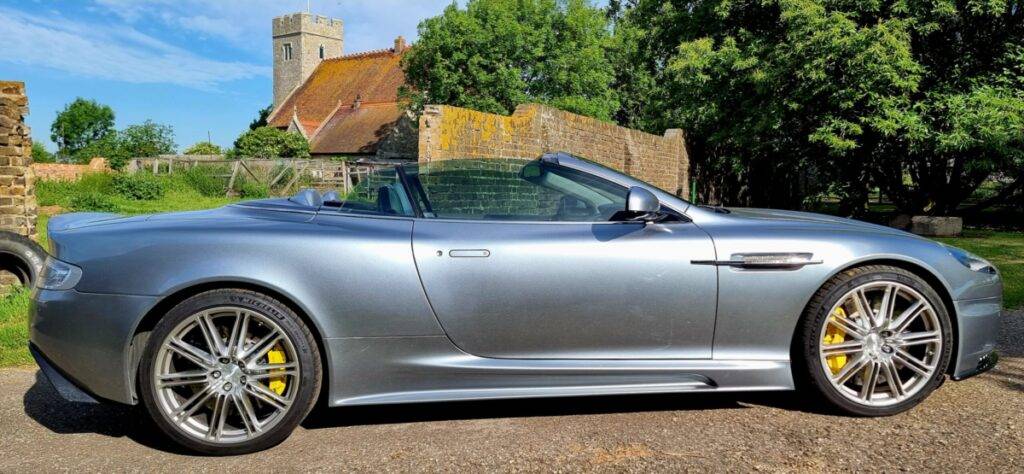
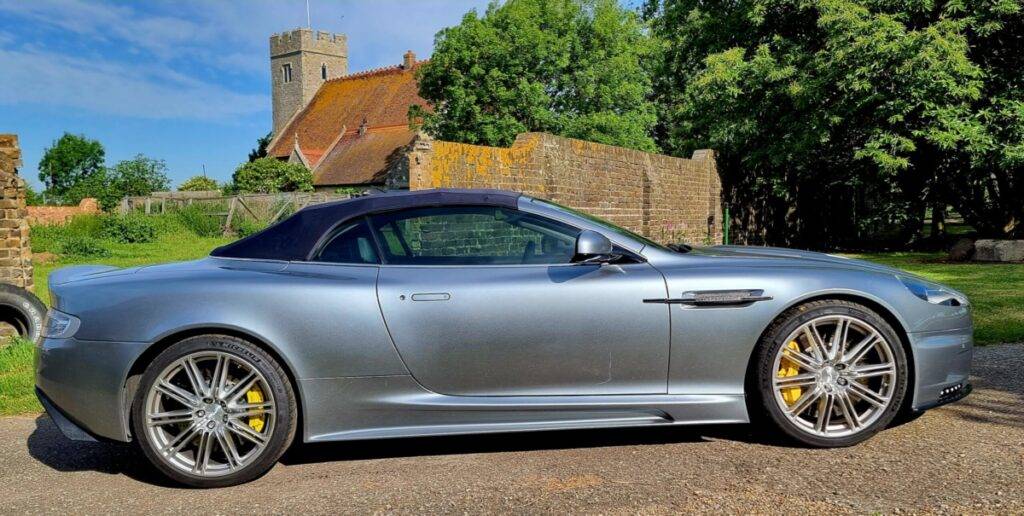
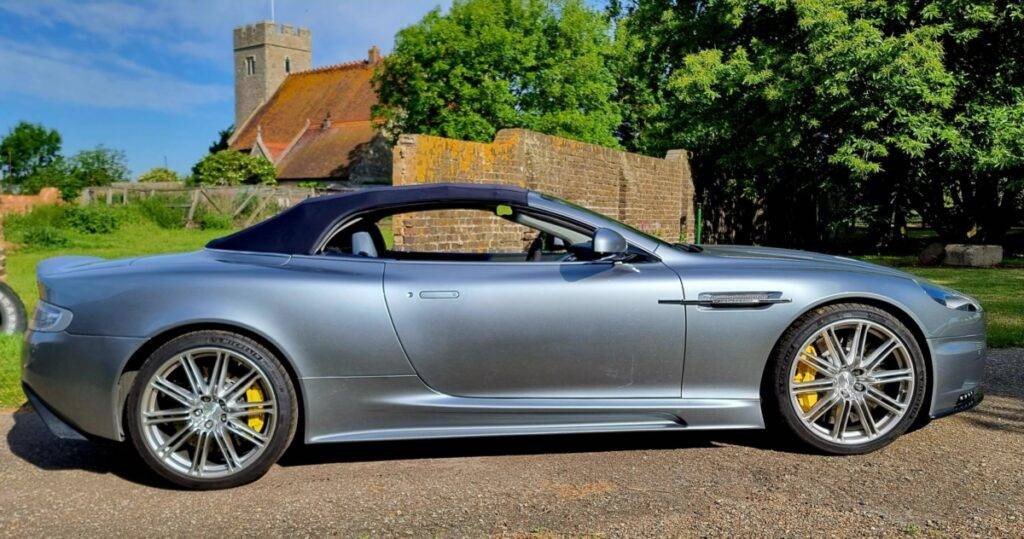
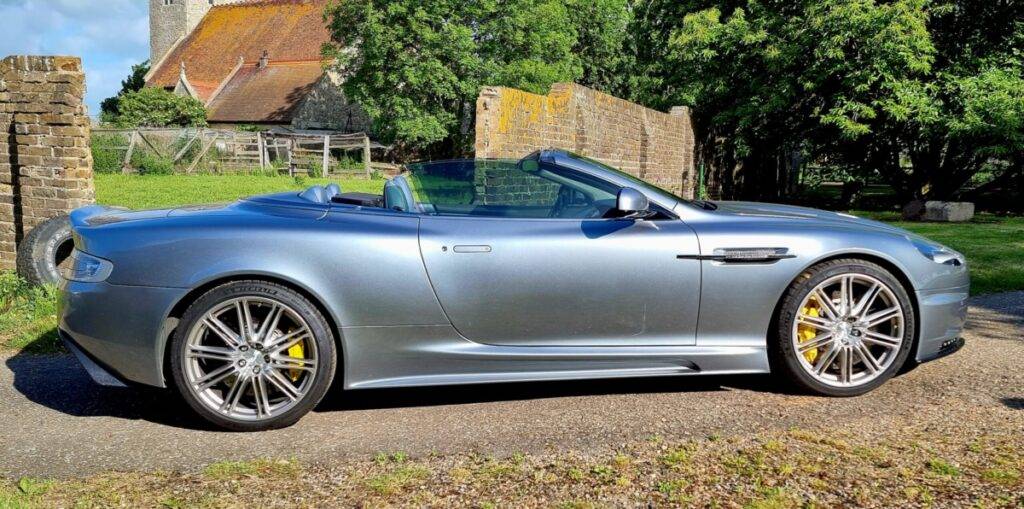
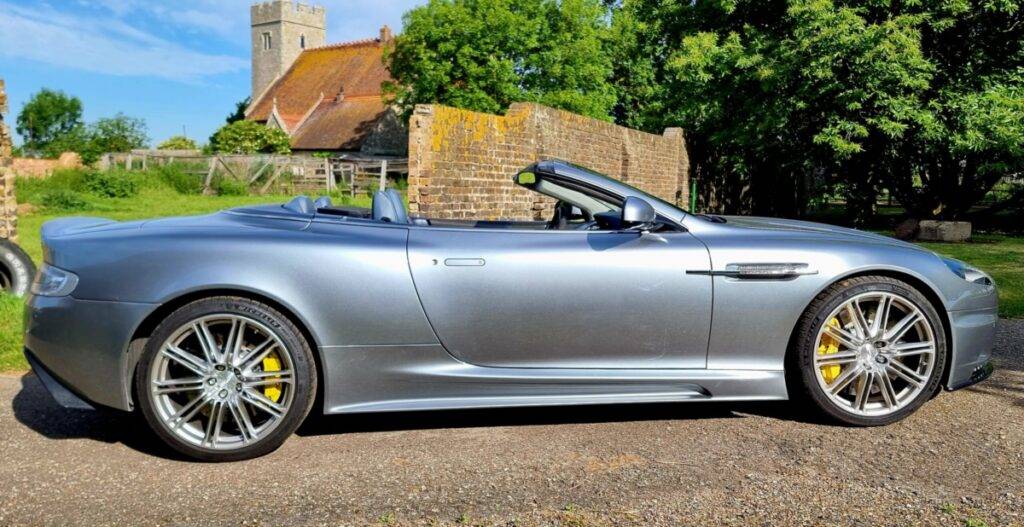
Aston Martin DB9 Rear Window Control, on early DB9 Volantes (before MY2009) it was not possible to raise or lower the rear quarterlights independently of the roof, from 2009 onwards once the roof was lowered a flick of the roof switch would raise the rear quarterlights. The Volante looks better, more finished, with the rear window up with the main side window when the roof is down.
My 2006 DB9 Volante did not have this option and although I have heard the door modules can be reprogrammed by a main dealer I decided to add a separate switch in to control the rear quarterlights.
The connector we need access to is behind the rear side trim, below the rear speakers, either side can be used and you only need access to one side.
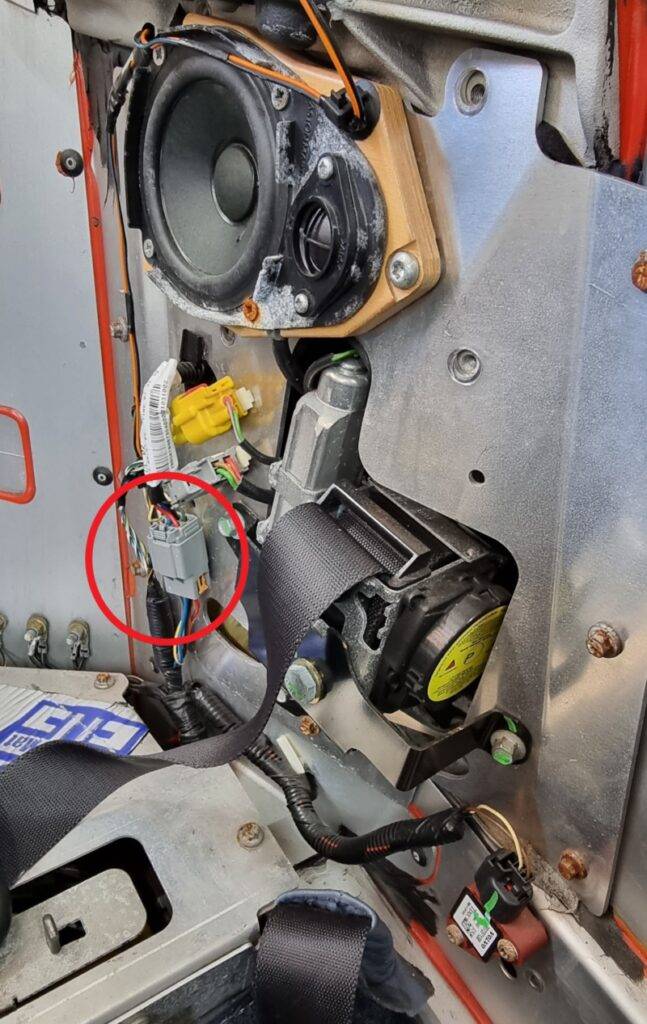
The connector is circled in red in the photo above.

The window motors are supplied with power direct from the boot fusebox, and there are two smaller wires that control whether the window should go up or down, there don’t seem to be any sensors for window position. The 2 wires we need to tap into are the smaller (0.5mm) as opposed to 2mm and are White/yellow for up and Green/Red for down. Switching either of these to earth will signal the window to go up/down respectively for as long as you hold it to earth.
I cut the cables before the connector, soldered trailing wires in and then heatshrink over the soldered connections.
I chose to use a 3 way momentary toggle switch hidden under the centre console so I can open or close the rear quarterlights whenever I choose, irrespective of the roof position.
The car is now far quieter and has less buffeting when driven at speed with the roof down is the quarterlights are up. I also have a wind deflector which also significantly reduces buffeting.

Hi, thank you for this update, Which can’t wait to do to my DB9.
My only issue is how do you get the panels off to get to the motor? Is it a major operation?
There are guides of the door panels and every over panel but can’t find one for the back side panel’s.
Any advice would be great please.
Thanks Dean.
Hi Dean,
From what I remember there are quite a few bits that need to be removed.
Start with the seats, remove the cushion, then slide the head rest up and the rear panel can be unbolted (4 small bolts)
The sill cover then needs to be removed and the lower front seat belt fitting.
The small, sliding, leather covered part on the rear quarter just in front of the tonneau cover needs to be removed to access some screws, easiest way is to start closing the roof and when its halfway open disconnect the small bar that causes this to slide, then it can be slid out of the way.
Then the panels covering the rear quarter can be easily removed, a combination of screws and press fits studs.
If I get time I’ll add some proper instructions with photos.
Paul
Many thanks for your reply. I’ll wait for a nice warm sunny day before I have ago.