Aston Martin illuminated Doorhandles, although all DB9s, DBS and Vantages have the 2 clear slots in the door handle, only 2007MY and later cars have the LEDs to illuminate when you unlock the doors. I retrofitted LEDs to my 2006MY DB9.
There is no wiring ready on pre 2207 MY cars but the door modules have the connections needed to enable the door handle lights to illuminate when the doors are unlocked and switch off after a preset time or when the door is opened.
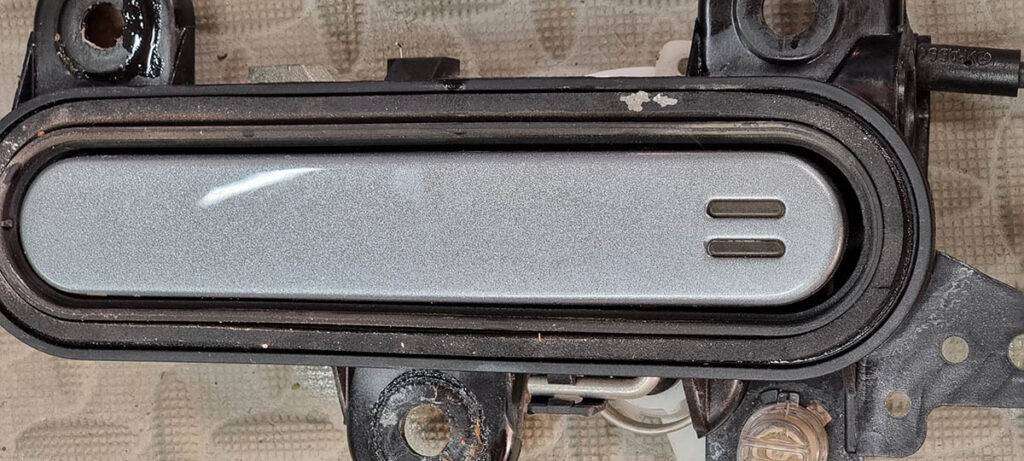
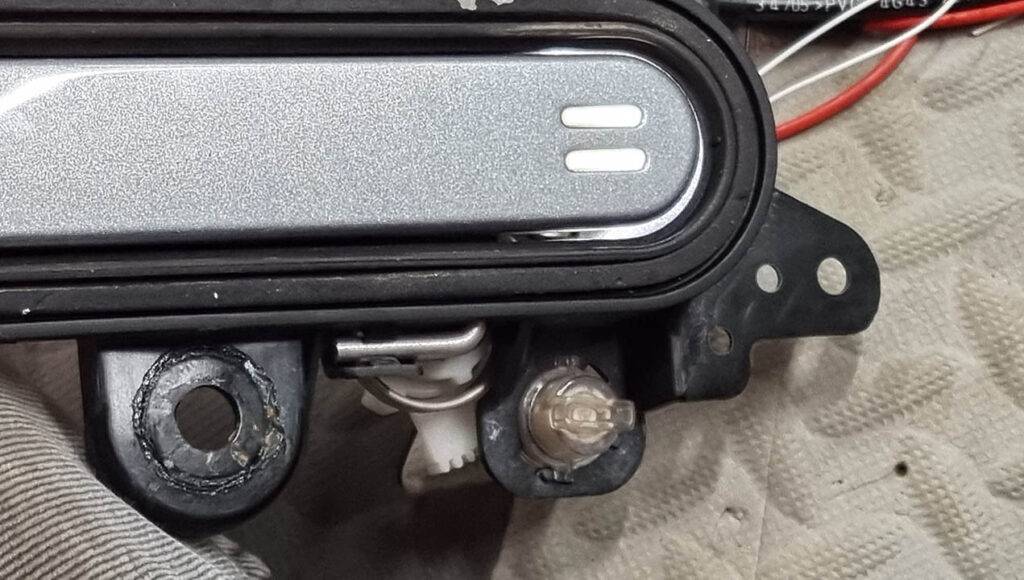
Door card removal
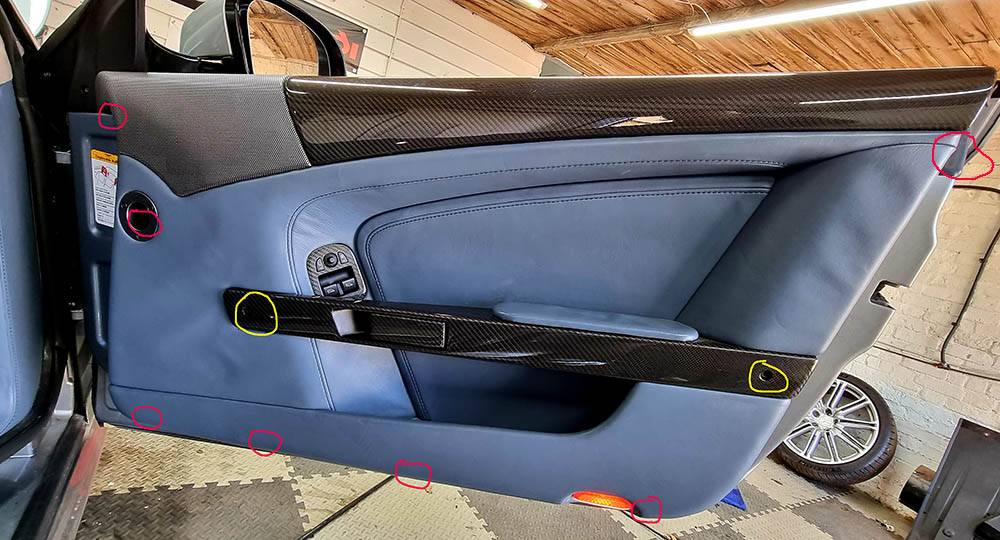
The door card on the DB9 (and Vantage, DBS etc.) is very easy to remove, almost no hidden screws, just 2 5mm Allen bolts (yellow) and 7 screws (red).
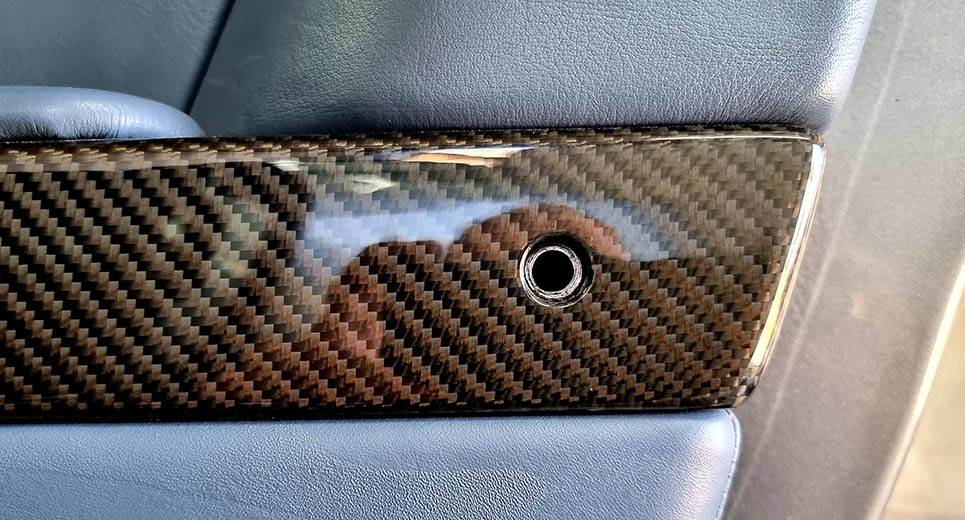
Remove the 2 5MM allen key bolts, one at each end of the door handle
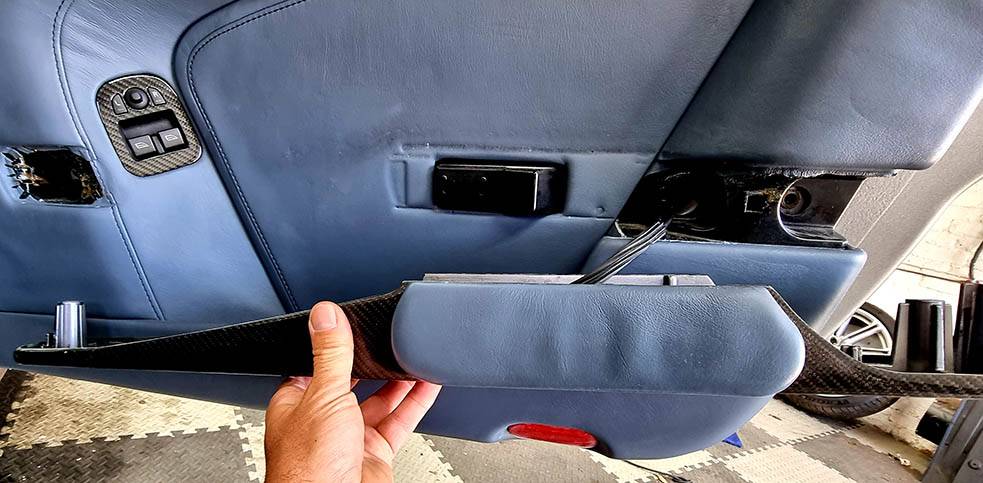
Gently pull the door handle away from the door
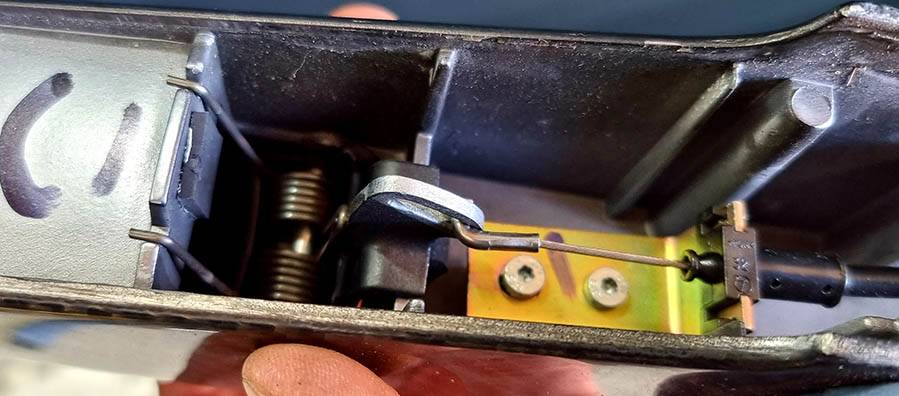
Disconnect the door handle by undoing the 2 2mm hex bolts and disconnecting the cable
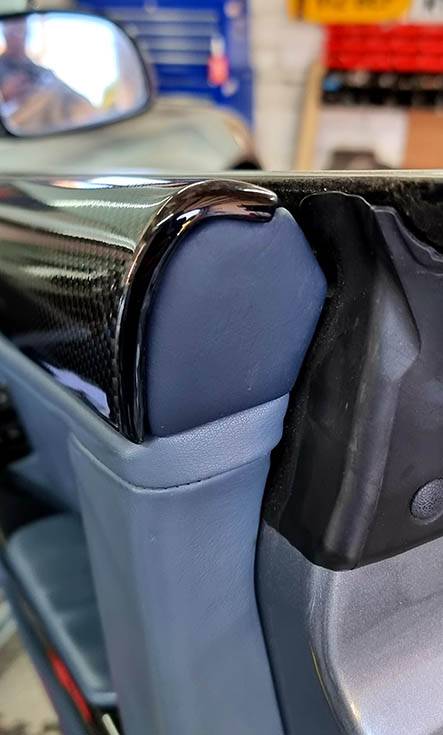
Remove the door end cap with a plastic trim removal tool, its only held in place with Velcro
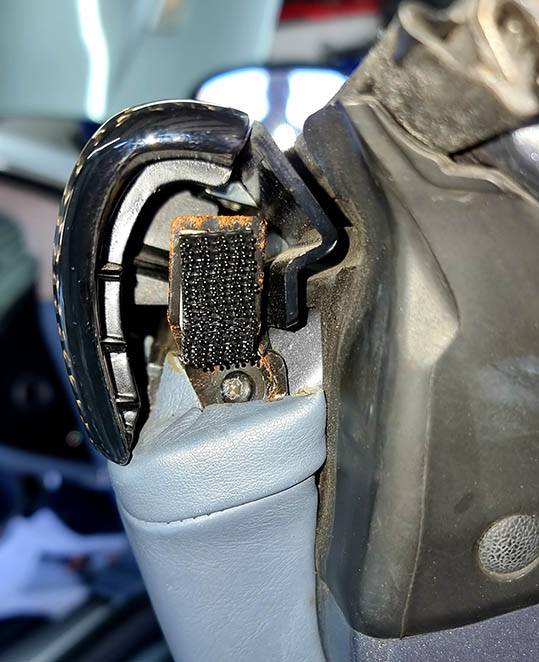
remove the screw that hold the bracket on and secures the door card to the door, all the screws are T25
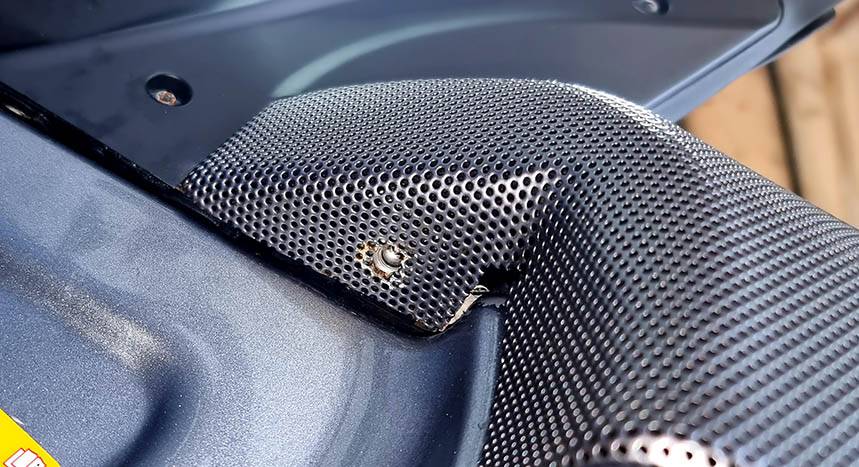
The front top edge of the door card is held in place by a screw under the speaker grille
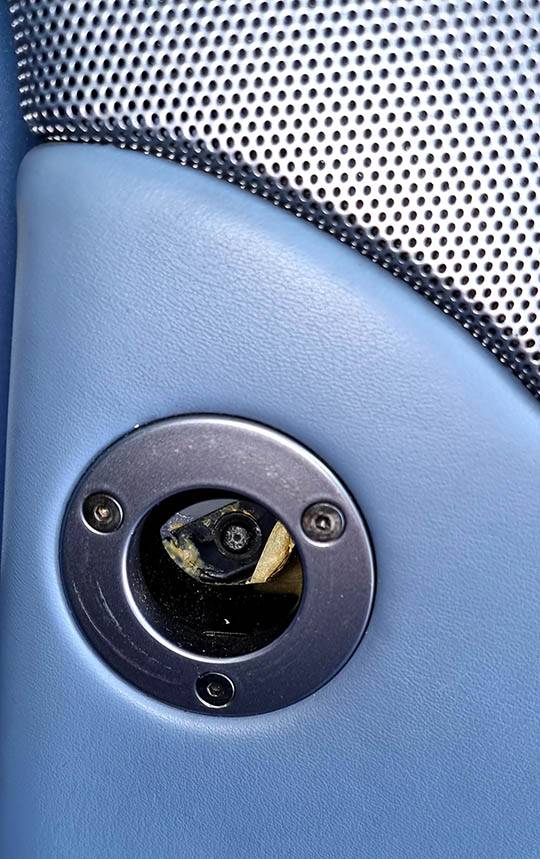
There is another screw inside the air duct at the front of the door (as can be seen mine has been damaged in the past and needs fixing)
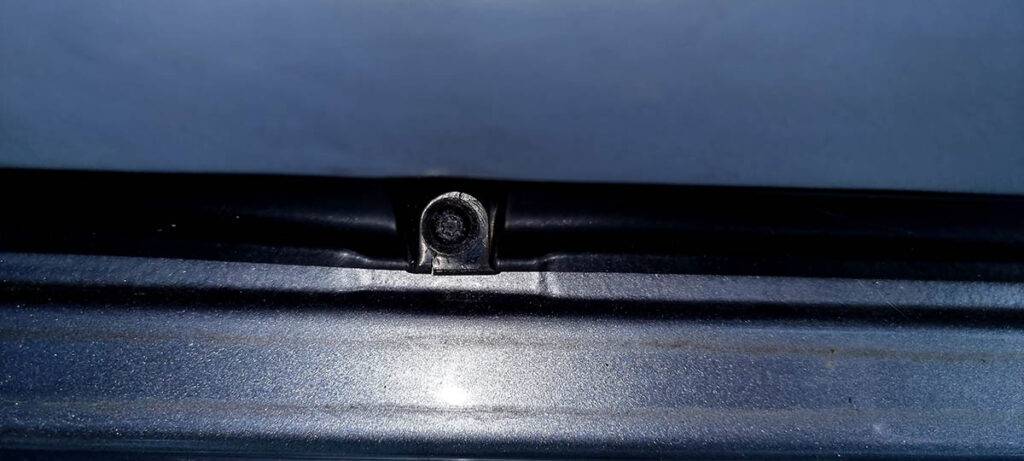
Finally there are 4 screws along the bottom of the door card
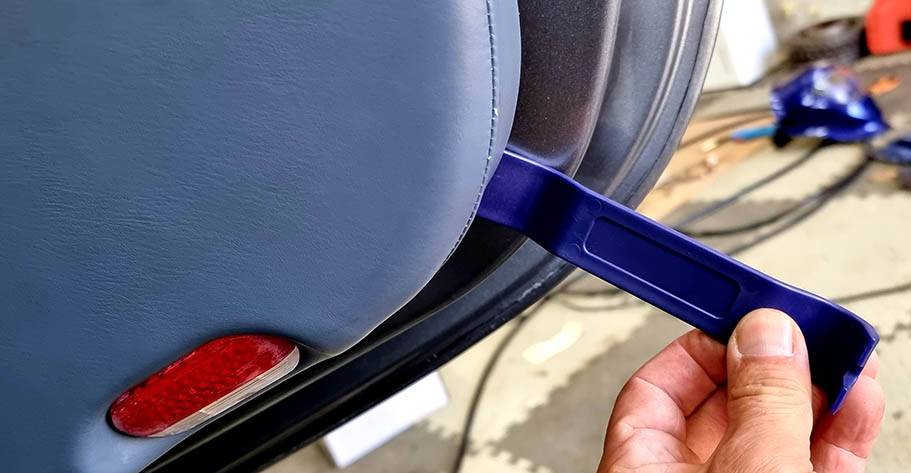
gently pry the door card away from the door using a plastic trim removal tool, there are two electrical connectors that need removing, the switch pack and the puddle light. Ensure the window is raised fully before moving the connectors.
Wiring for Aston Martin illuminated Door handles
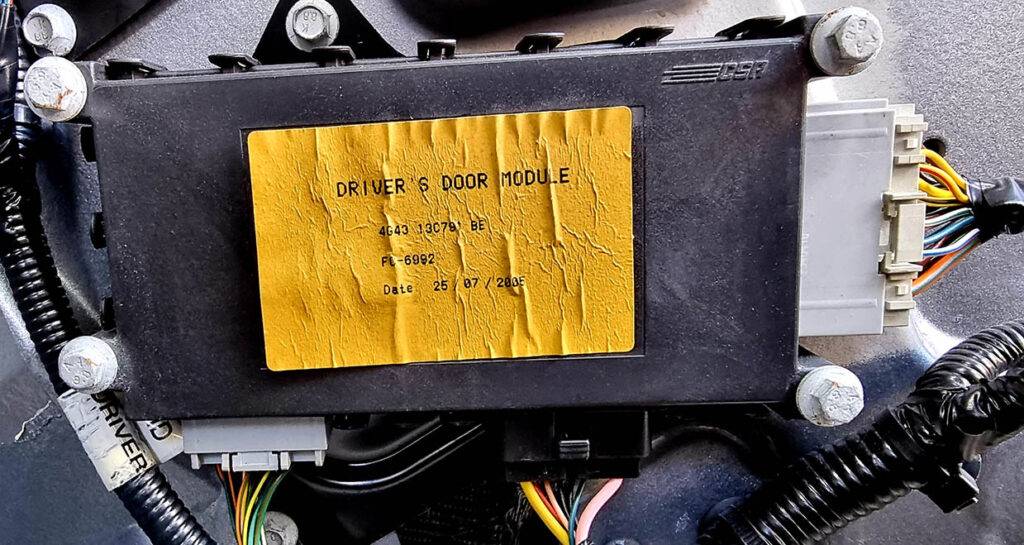
All VH Aston Martins have door modules that control various aspects of the doors, such as locking, windows, mirrors etc. Even the earliest such as this 2005 module have facility for illuminated door handles even though they are not wired up. We will be using connector C0336 which is the grey connector on the right hand side of the picture above.
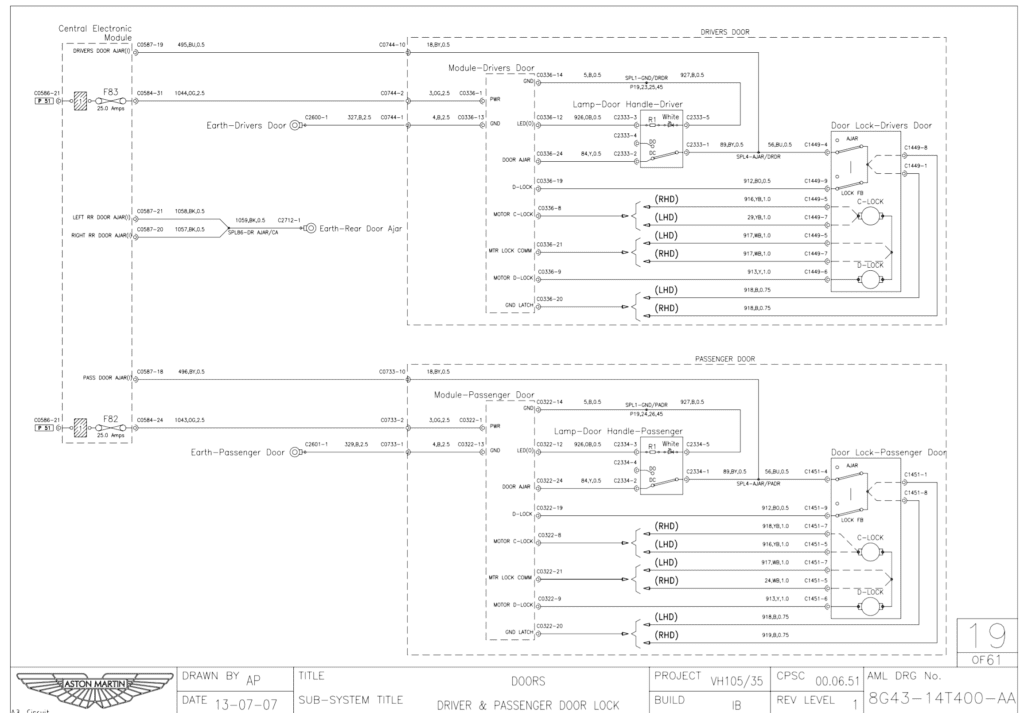
As can be seen from the wiring diagram we will use pins 12 and 14, pin 14 is already in use so we will splice in to the black cable from pin 14, but pin 12 is empty so we need to add a new pin to the connector, because we will be disconnecting the connector from the door module we will need to force the windows to recalibrate after finishing this modification (open the window fully and hold the switch down for 10 seconds , then close the window fully and hold for 10 seconds, if its not recalibrated then auto up/down won’t work and nor will the dropping and raining slightly of the window when the door is opened/closed)
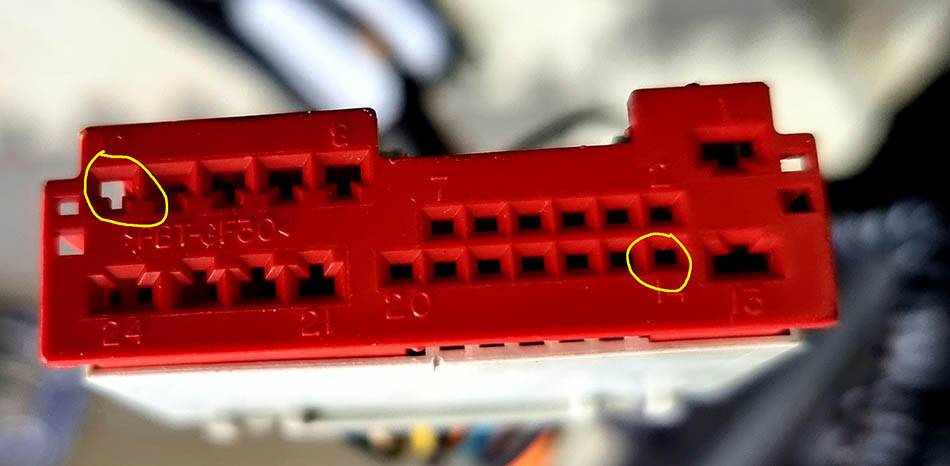
Pins 12 and 14 marked
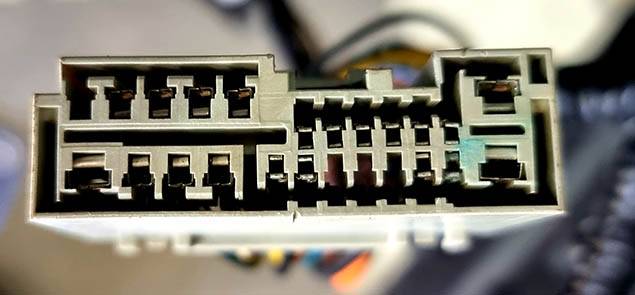
Connector C0336 with the red front removed, as can be seen, pin 12 is empty (and pin 14 is corroded and needs cleaning)
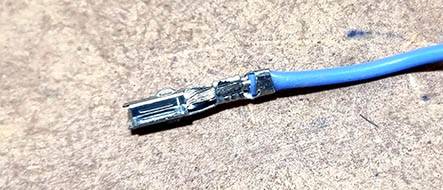
A female pin attached to a wire for inserting into position 12 on the connector C0336, I used pins out of a multi connector set
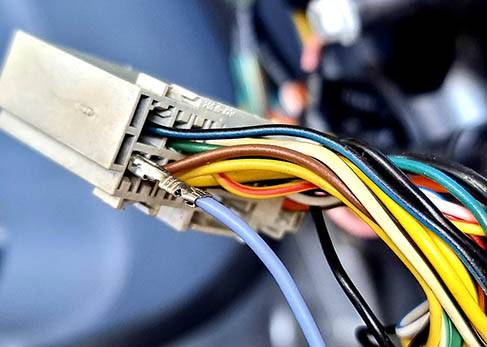
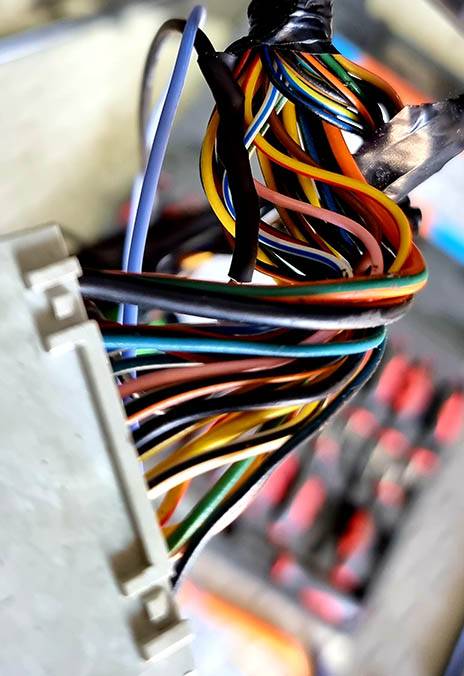
Connector C0336 with pin 12 added and an extra wire spliced (soldered and with heatshrink) in to pin 14 for the illuminated door handle power.
Modifying the Door Handle
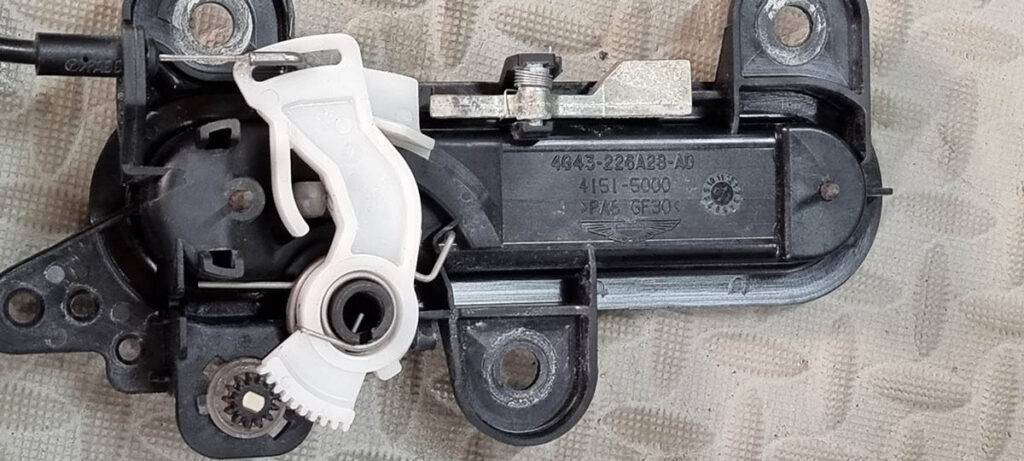
The door handle can be removed by removing the 3*10mm nuts holding it in place
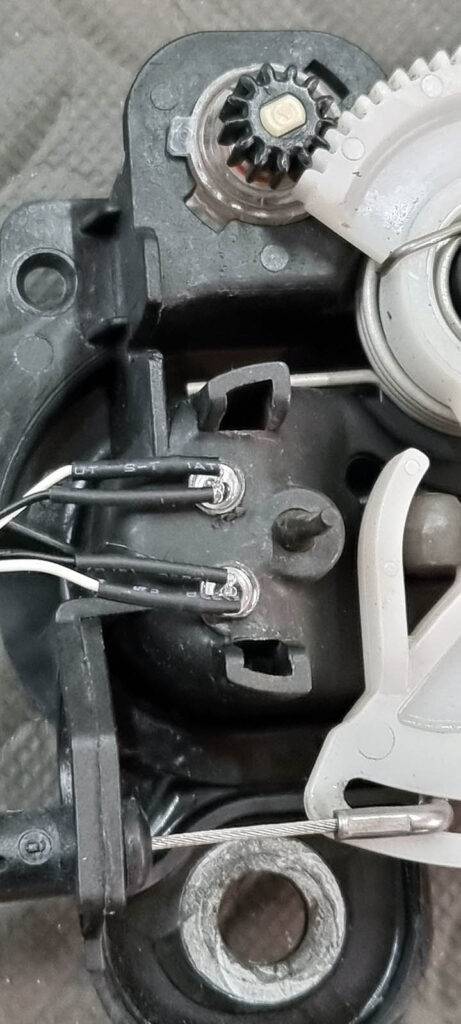
I chose to fit 2 5mm White LEDs as 2 LEDs seemed to illuminate the slots more evenly, I just drilled 2 5mm holes in the back of the door handle casing, fitted the LEDs and to ensure they didn’t vibrate loose, I covered them in a thin layer of epoxy glue.
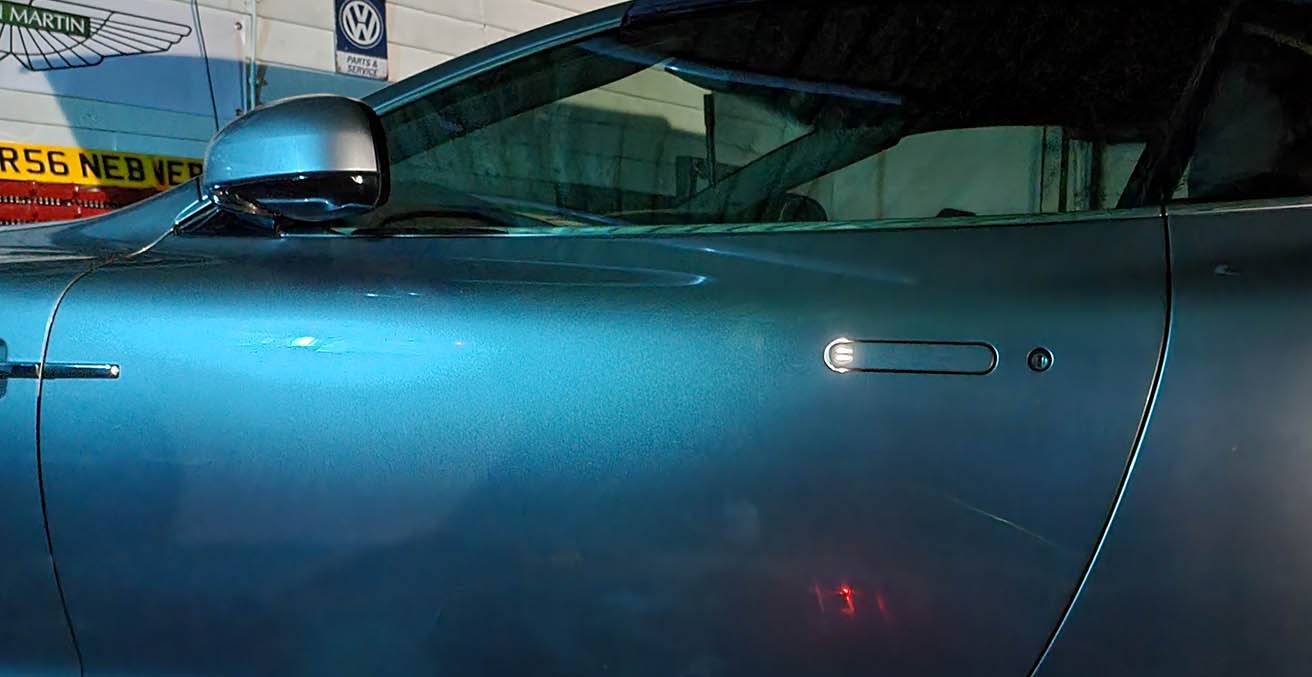
The LEDs should illuminate when the doors are unlocked using the fob and stay illuminated for 30 seconds or until the door is opened.
Brilliant write up. Thank you.
Thanks
Great write up with clear easy to follow instructions. Well done and thank you
Thank you
Hi Paul, can you remember what size green connector pins are as the ones I have are way too big for the plug?
Sorry, I know they were small but I can’t remember what size