Menu
DB9S.com
  • Home
  • Products
    • Aston Martin Headlight Upgrades
    • Aston Martin Headlight Upgrade DIY Bi-LED
    • DB9 Bonnet bump stop support
    • Aston Martin Custom Glass Switches
  • DB9, DBS or DB9S
    • Evolution of my DB9S
    • DB9, DBS or DB9S
    • DB9S modified Bootlid
    • DBS Front Bumper
    • Rear bumper and Diffuser
    • Sills
  • Modifications
    • Aston Martin DB9 Modified Exhaust
    • Upgraded Aston Martin Headlights
    • Aston Martin 3 way switchable Exhaust Valve
    • Aston Martin DB9 Upgraded Brakes
    • DB9 Air Box Delete
    • DB9S Carbon Edition
    • Aston Martin Headlight Bulb Comparison
    • Ambient Lighting
    • Aston Martin Alloy Seat Controls
    • Aston Martin DB9 Polyurethane Bushes upgrade
    • DB9 Modified Steering Wheel
    • DB9 Volante rear anti-roll bar
    • DB9 Volante Chassis Stiffening
    • DBS Anti roll bar upgrade for DB9
    • Aston Martin DBS Inlet Manifold Upgrade
    • Aston Martin DBS DRL
    • Sequential lights
    • DB9 Carpet Finisher
    • Upgraded Aston Martin V12 Exhaust
    • Aston Martin Engine Plaque
    • Aston Martin DBS/DB9 Android Auto
    • Aston Martin Magnetic Charging Port
  • Updates
    • Aston Martin DB9 Updates
    • DB9 armrest upgrade
    • DB9 Clear Rear lights
    • Aston Martin Custom Glass Switches
    • Upgraded DB9 Dashboard
    • Aston Martin DB9 Dimming Rear View Mirror
    • Aston Martin Alloy Seat Controls
    • Aston Martin illuminated Doorhandles
    • Later Memory Seats
    • Updated Aston Martin Sunvisors
    • Aston Martin DB9 Rear Window Control
    • DB9S Wheels and Tyres
    • Aston Martin DB9 Windscreen Wipers
    • Aston Martin DB9 Bespoke Luggage
  • Maintenance
  • Aston Martin Manuals and Brochures
  • Blog
  • Gallery
DB9S.com

Aston Martin DIY Headlight Upgrade Installation

Posted on February 7, 2026February 7, 2026 by Paul

Aston Martin DIY Headlight Upgrade Installation, a guide to installing the DB9S Bi-LED headlight upgrade for Aston Martin DB9, DBS and Vantage.

Aston Martin DIY Headlight Upgrade Installation Bi-LED
Aston Martin Headlight Upgrade DIY Bi-LED

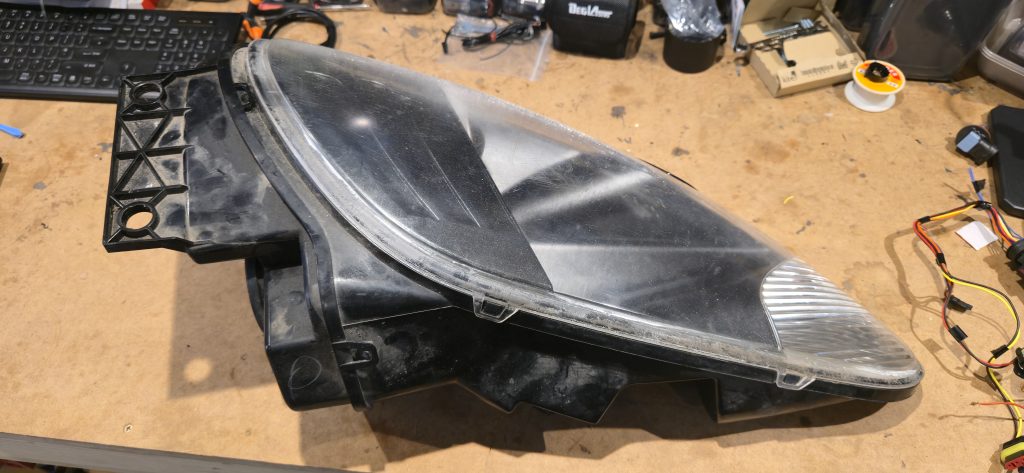
Firstly the headlights need to be removed from the car. Remove the wheel arch liner and airbox, then the three bolts that attach the headlight cam be seen, it is very common for the front bracket (and the washer brackets) to be broken, but 3D printed replacements (Much stronger) can easily be sourced from Ebay.

DB9/DBS

Aston Martin DB9 Headlight
Rear of DB9 Headlight

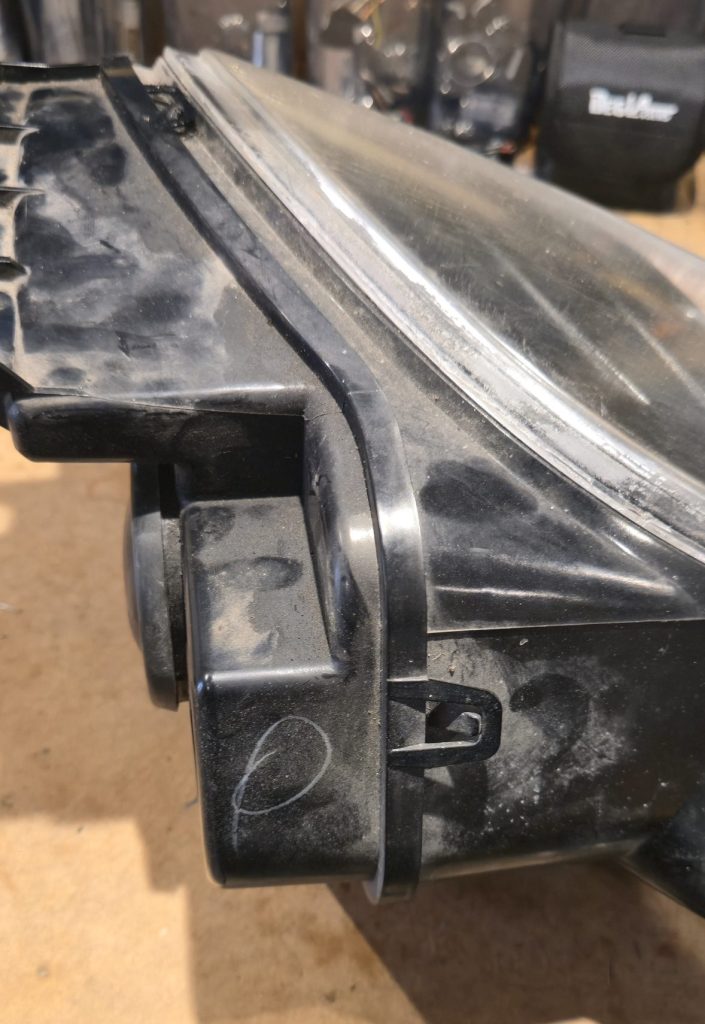
Using an oven, no more than 10-15 minutes at 100C or a hot air gun (on a fairly low heat) around the rear section of the headlight, once the plastic is warm bend the securing tabs a little.

warming DB9 headlight for removal

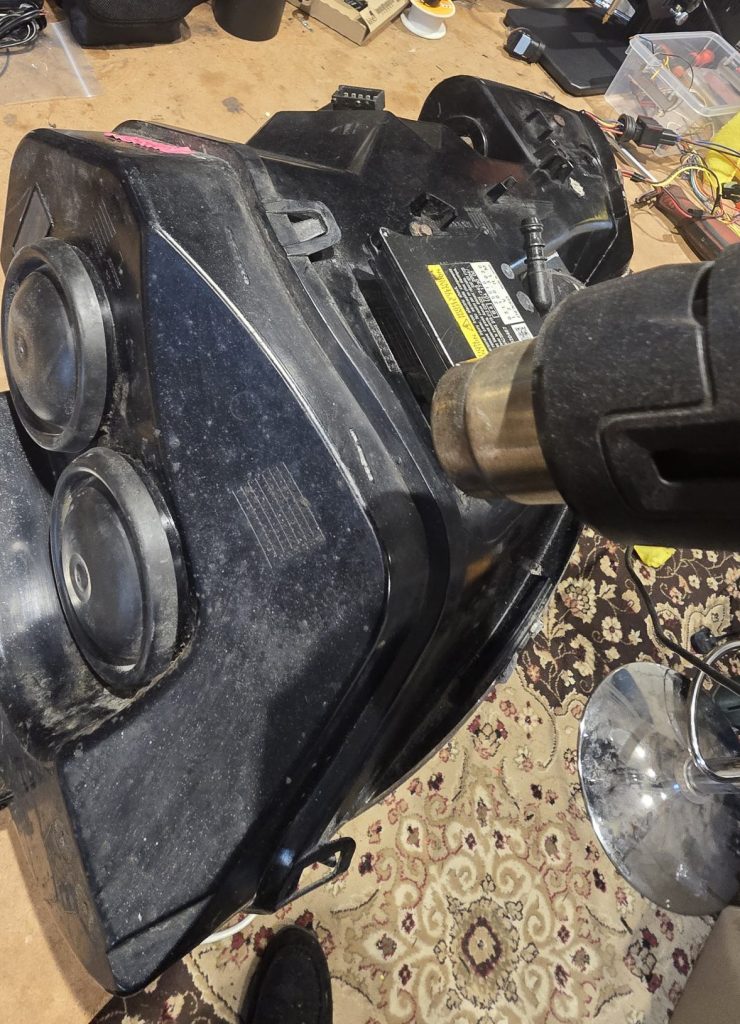
Once the tabs are released use the ballast to lever against the rear part of the headlight which should start to move away from the main body of the headlight. Then move around the rest of the rear of the headlight pulling the rear part away )don’t pull far, it is still attached via the adjusters.

DB9 Headlight opening

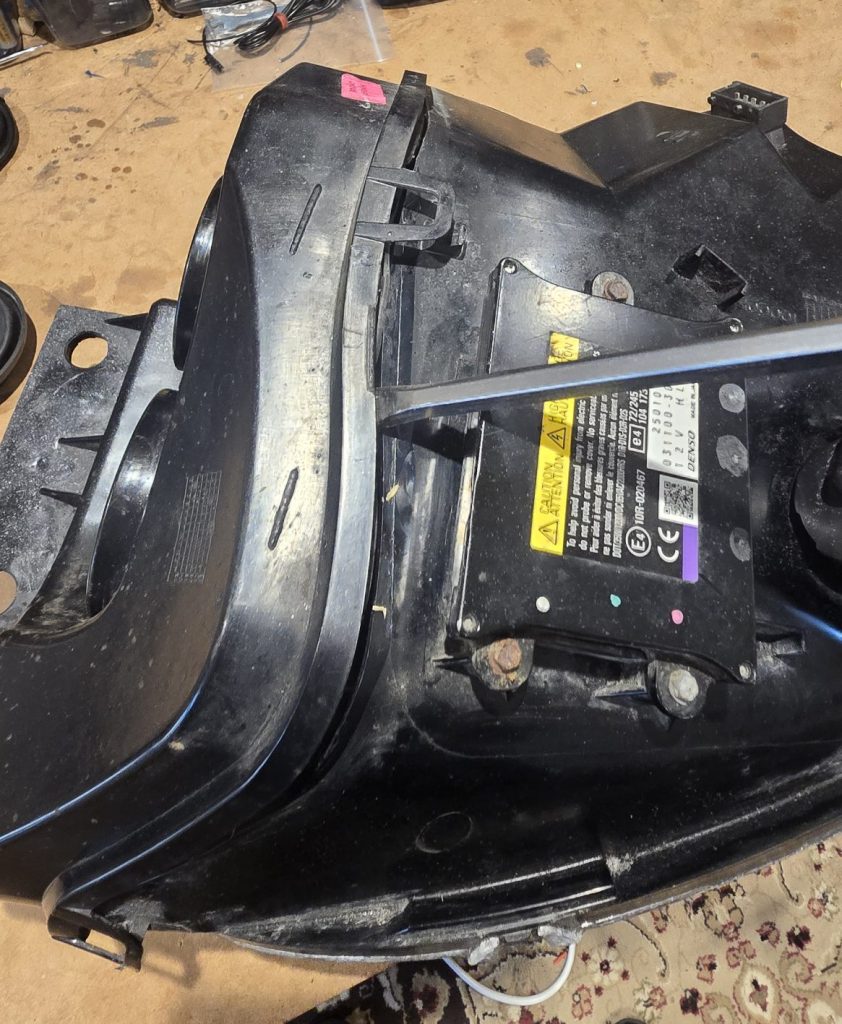
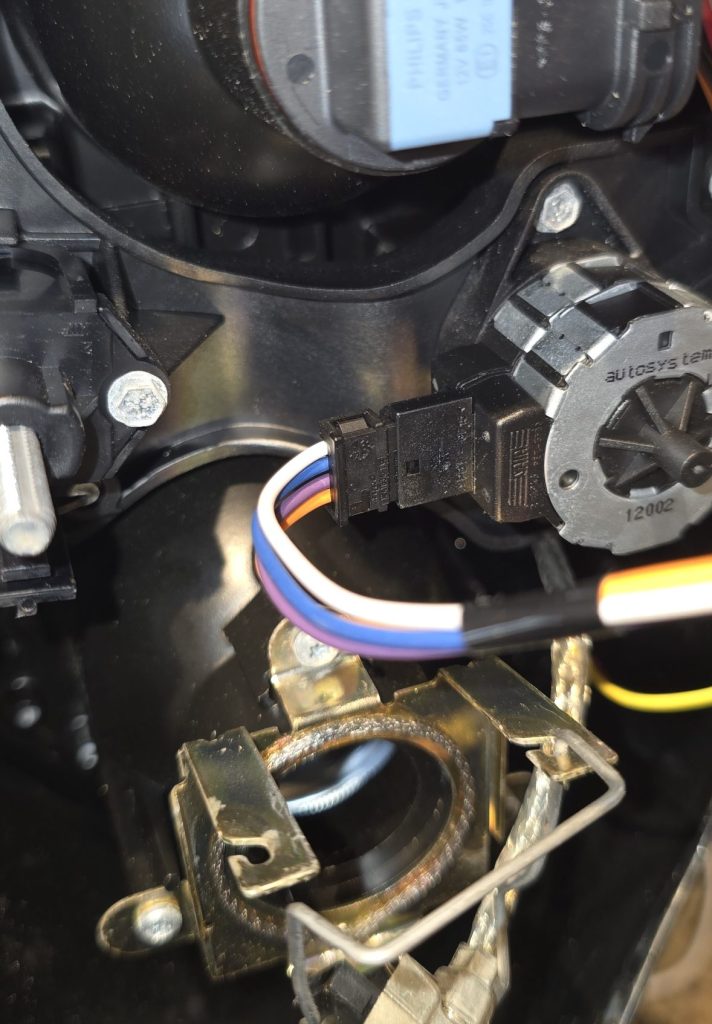
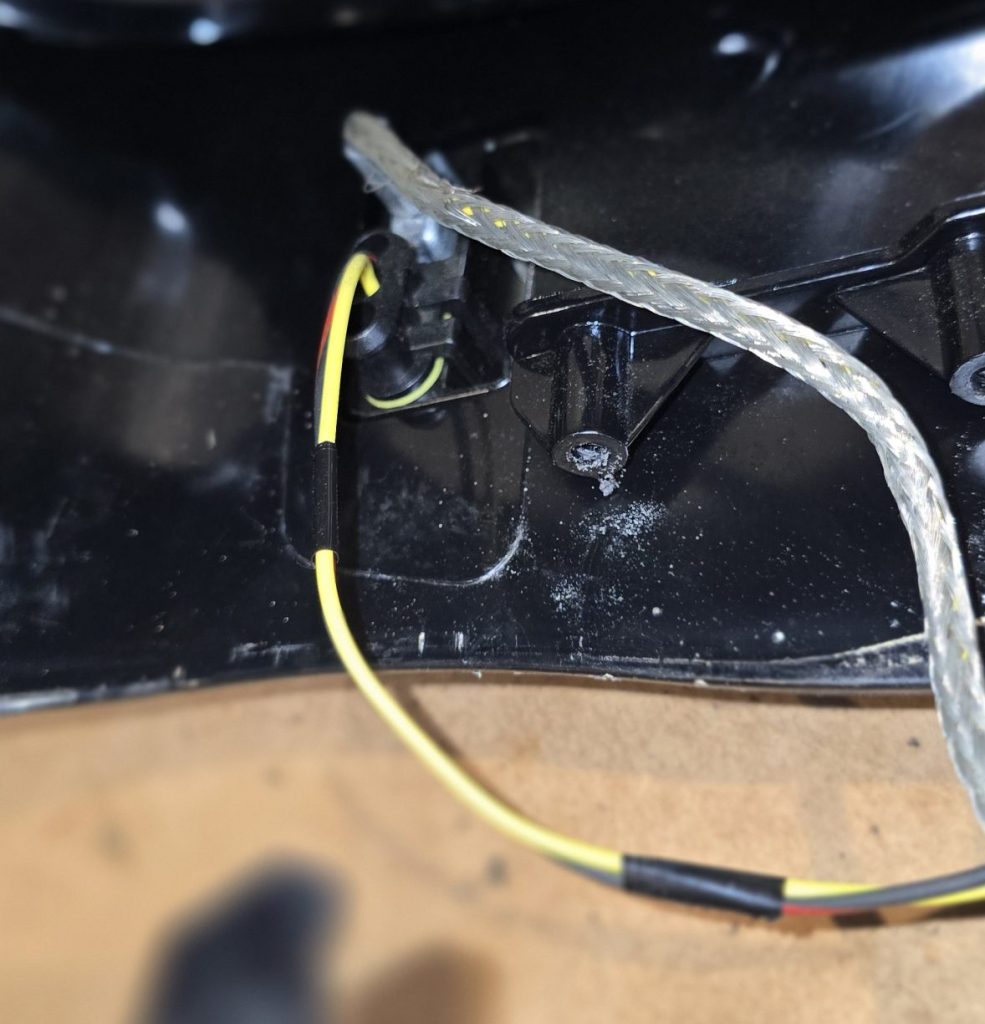
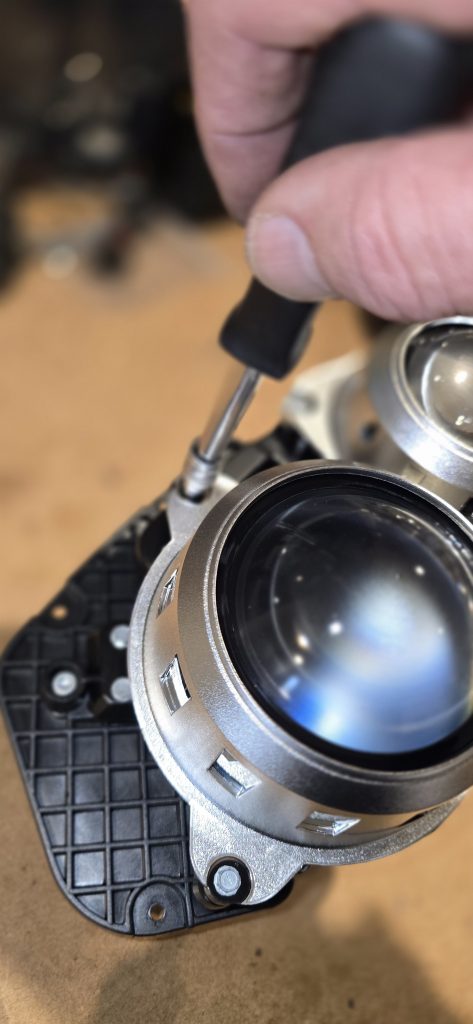
Disconnect the adjuster cables, using a medium sized flat screwdriver to lever the cable away from the adjuster.

Aston Martin Headlight adjuster cables

Remove the headlight levelling cable from the motor, and the bulb connectors.

DB9 Headlight levelling motor

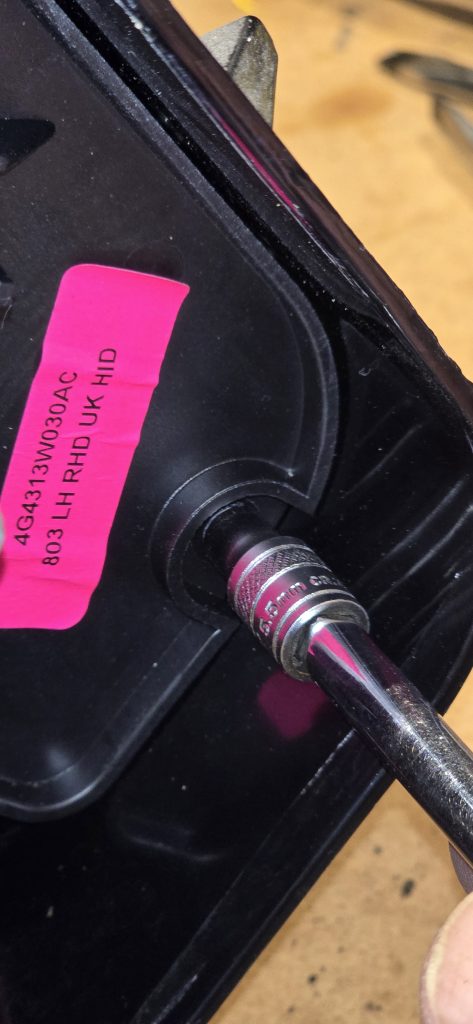
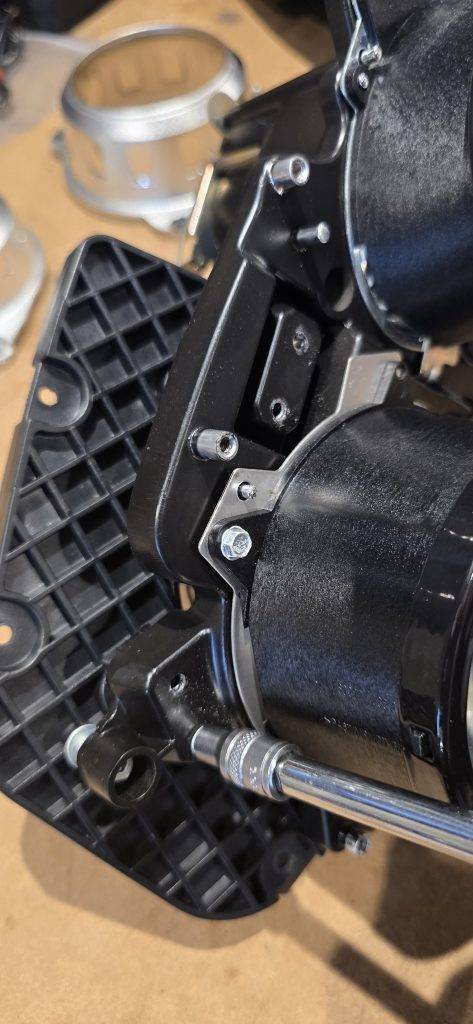
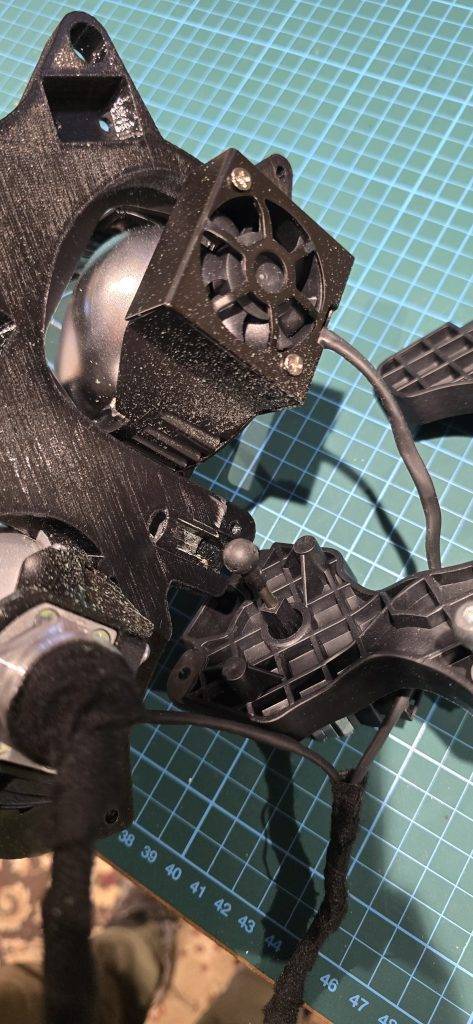
Remove the five 5.5mm screws (marked with red circles) holding the rear bracket to the headlight body.
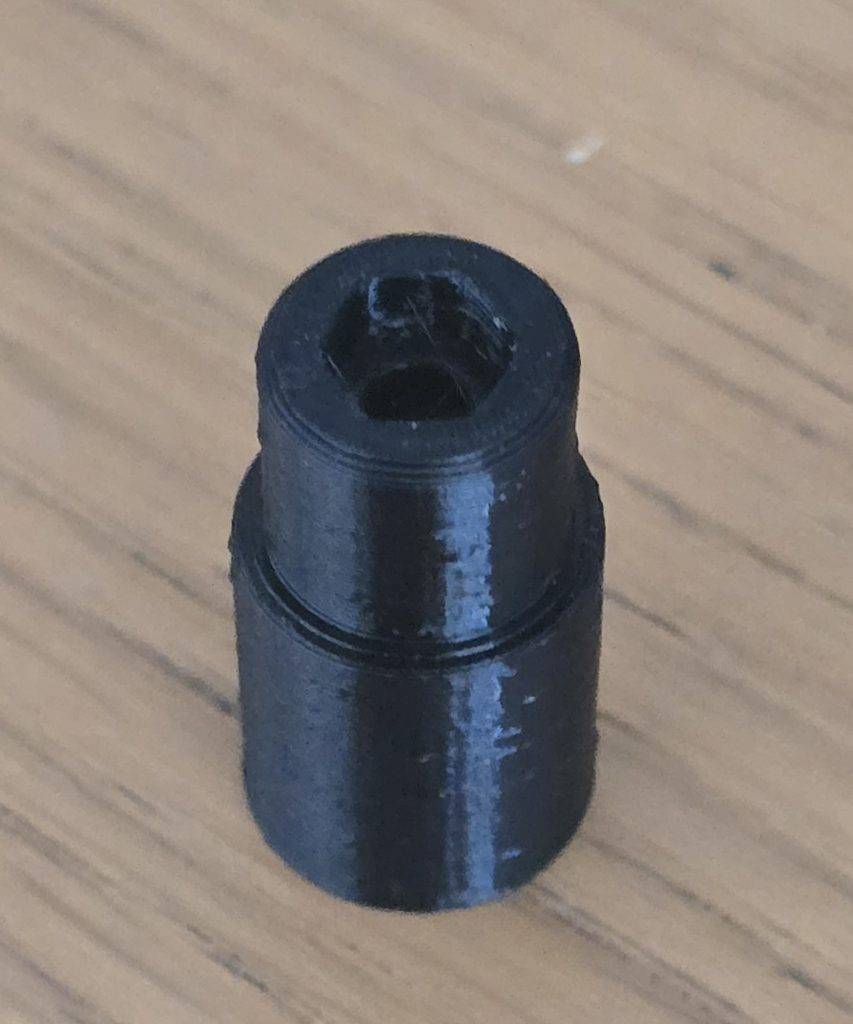
DB9 headlight rear plate screws

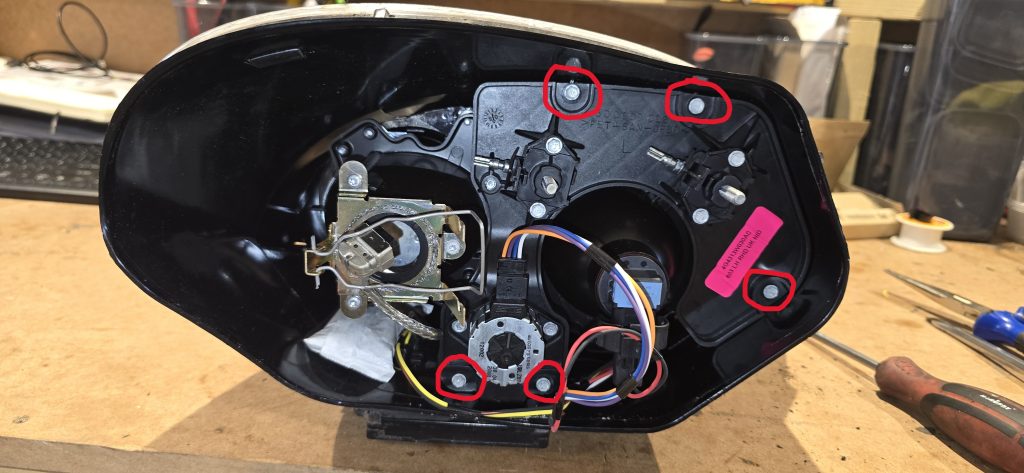
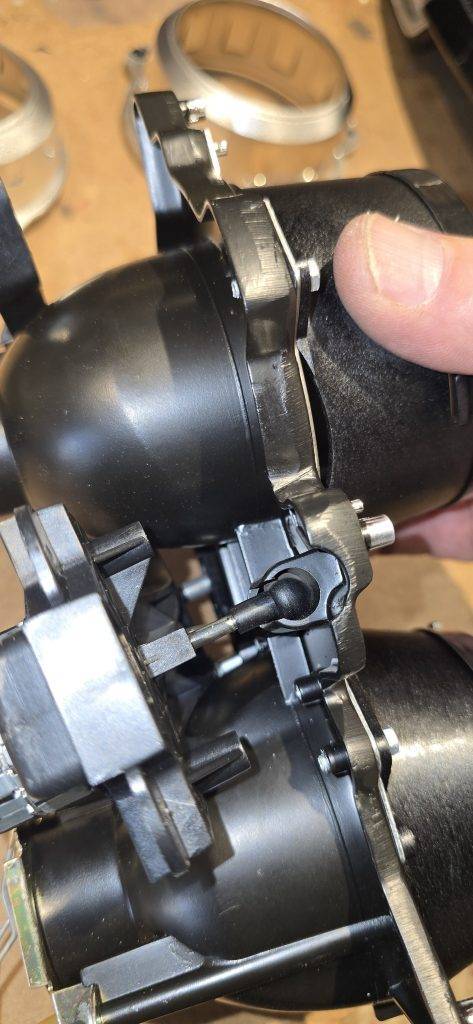
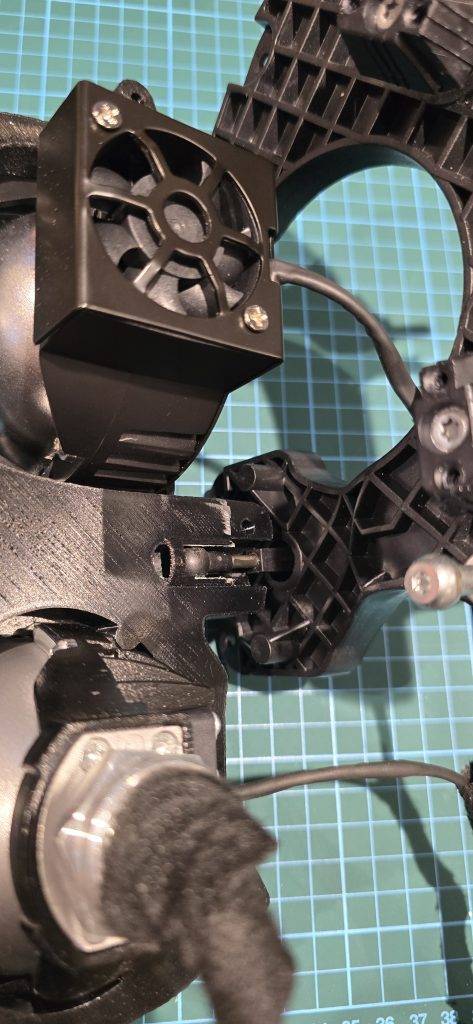
Carefully pull the bracket out of the headlight (it is still connected)

DB9 Rear headlight plate

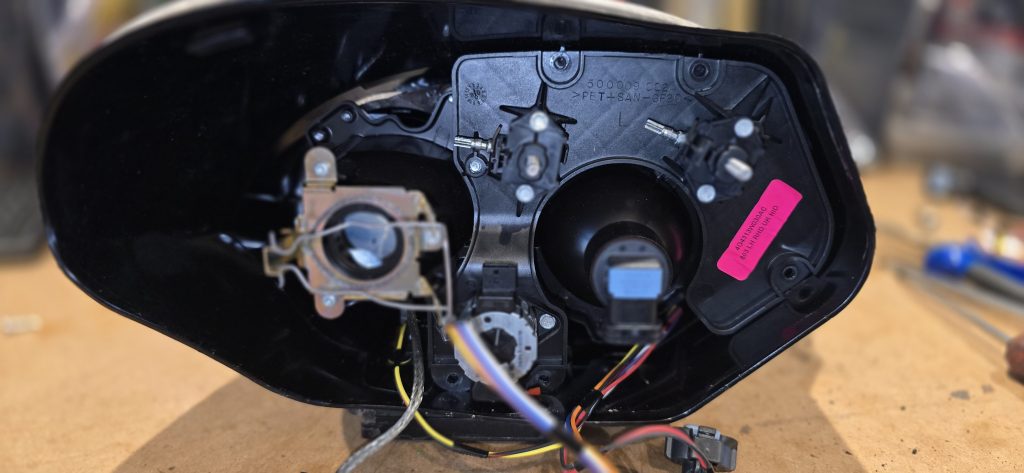
Disconnect the connectors from the ballast.

DB9 Ballast connectors

Remove the light module completely

Aston Martin Headlight module

Remove the bezels using the same 5.5mm socket

DB9 headlight bezel
DB9 headlight bezel

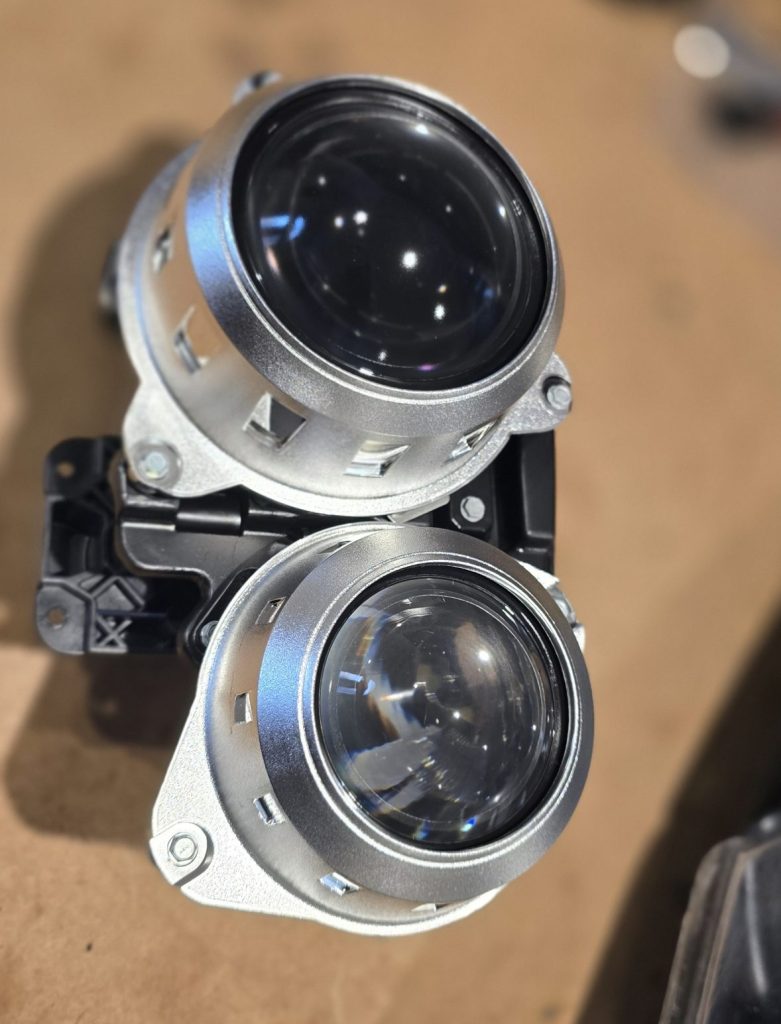
Once the Bezels are removed the module can be removed from the bracket, again using the 5.5mm socket to remove the 4 screws and then slide the ball joint from the levelling motor out of the slot.

Levelling ball joint

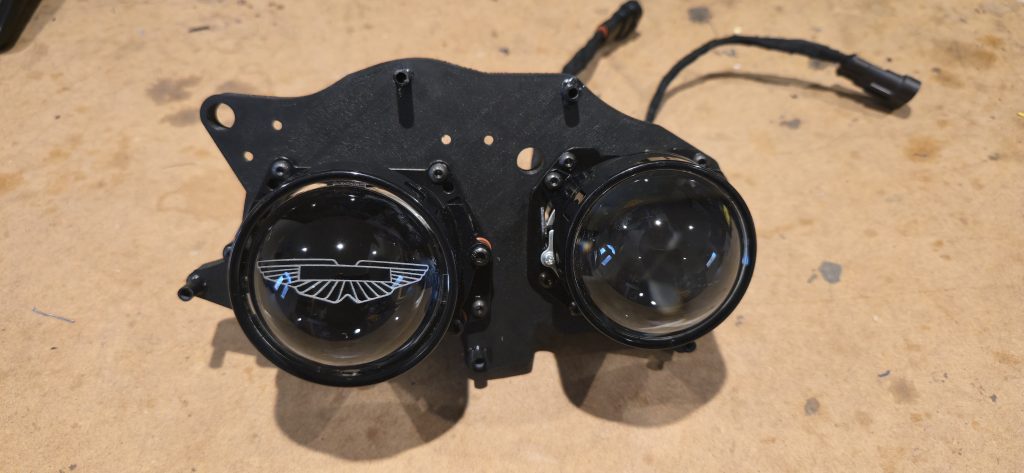
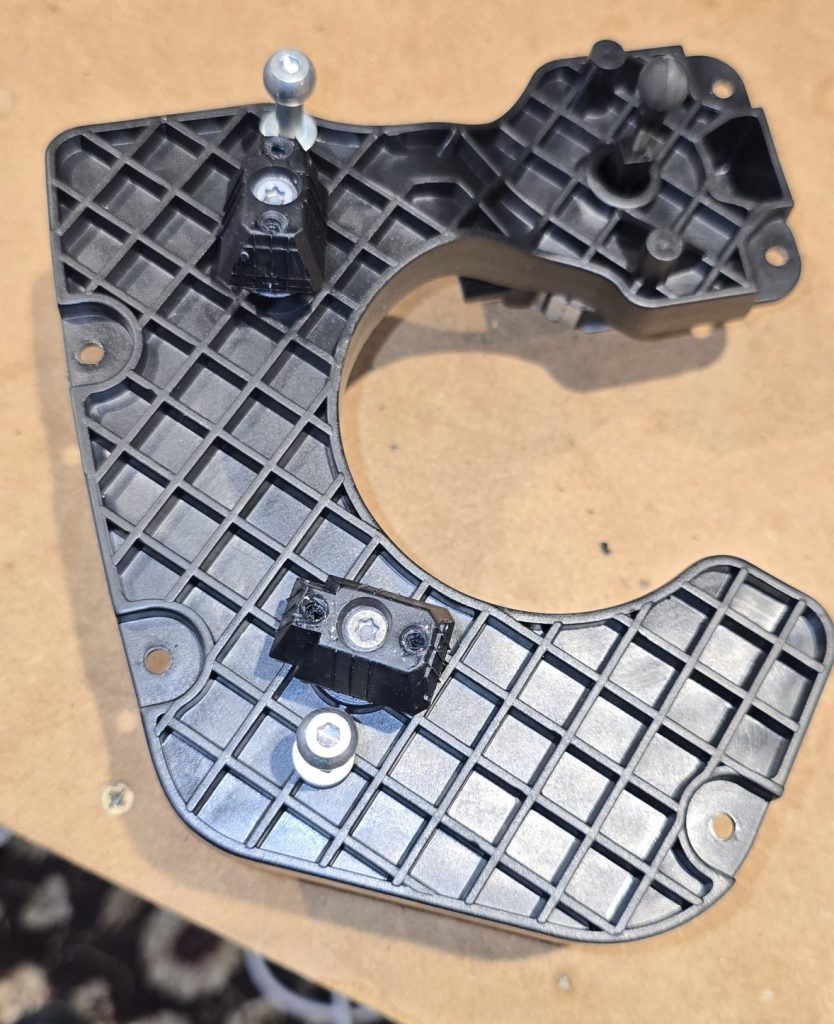
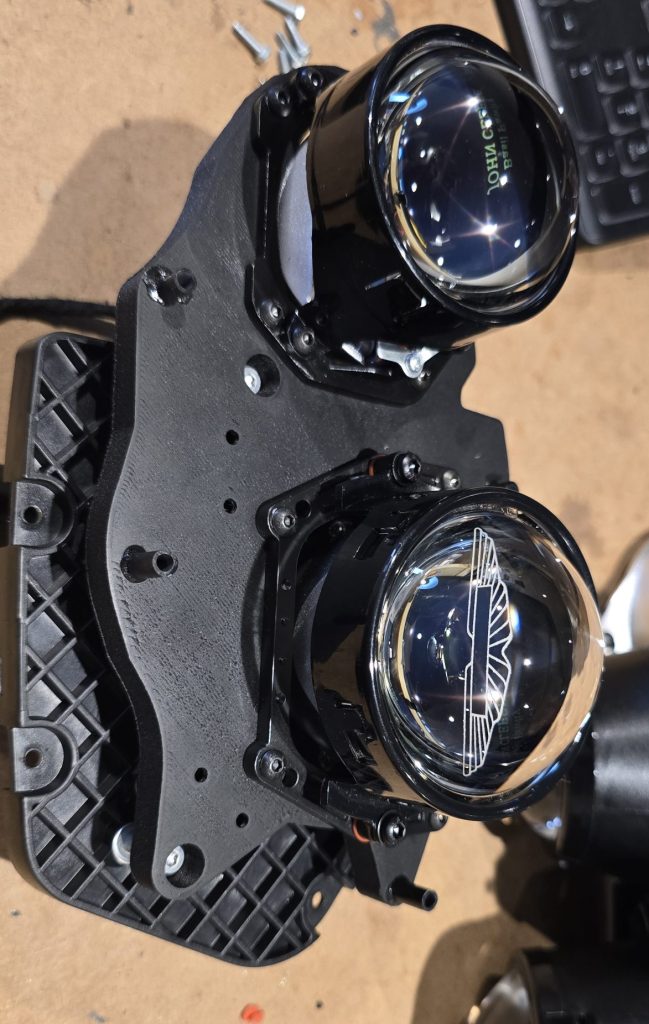
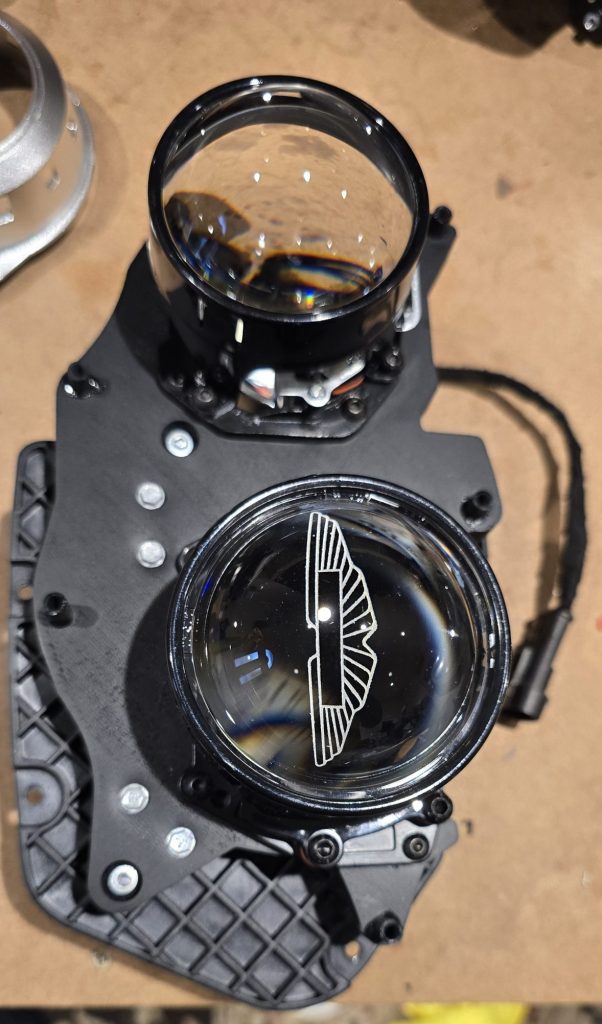
This leaves the rear bracket for the headlight, now do the reverse by attaching the new module to the bracket and fitting the bezels to the module.
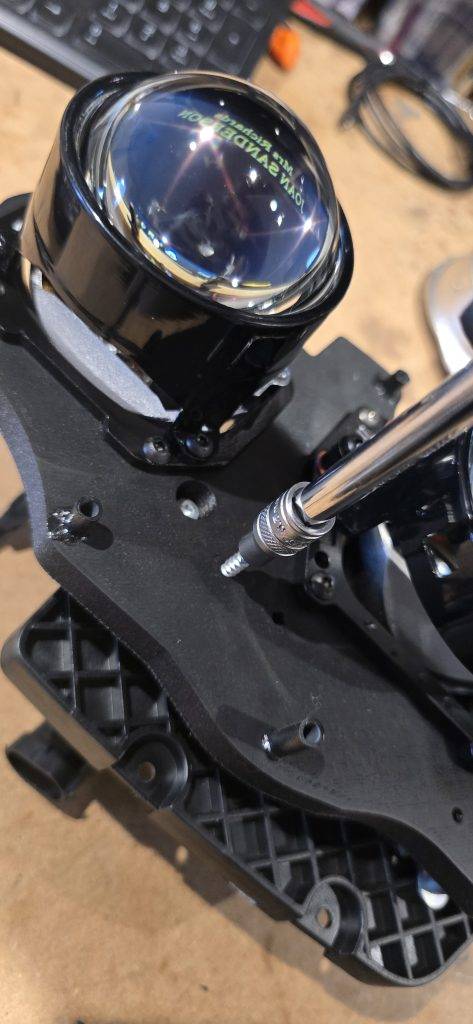
Aston Martin Headlight internal bracket

Leave a Reply Cancel reply

Your email address will not be published. Required fields are marked *

Recent Comments

  • Paul on DB9 Bonnet bump stop support: “Hi Stephen, You should be able to purchase them through the Ebay link, if not email me on admin@db9s.com Paul” Feb 9, 06:34
  • Stephen Mickelsen on DB9 Bonnet bump stop support: “I would love to purchase a set for my 2009 DB9. I’m located in California USA” Feb 7, 21:03
  • Paul on Aston Martin Custom Glass Switches: “Morning Mark, Thank you for the comment, I have sent you an email however my email is being moved to…” Jan 31, 07:31
  • Mark Bailey on Aston Martin Custom Glass Switches: “Hello I have a 2007 V8 Vantage sportshift and was looking at glass buttons for just around the main starter…” Jan 30, 15:46
  • Paul on Aston Martin Custom Glass Switches: “Hi Kerry, 2008 onwards has the buttons for seat release. If you want to send me the 3 (or 2)…” Jan 30, 11:43
©2022 DB9S.com